Add a new customer
Add customers so that you can send them quotes and invoices, then receive payments. View your customer list to check that the customer has not already been added.
The images and steps in this topic are based on our new design (which you can currently switch on and off). If you haven't switched the new design on, the images may look different.
You can also create new customers from Quick sales invoice.
-
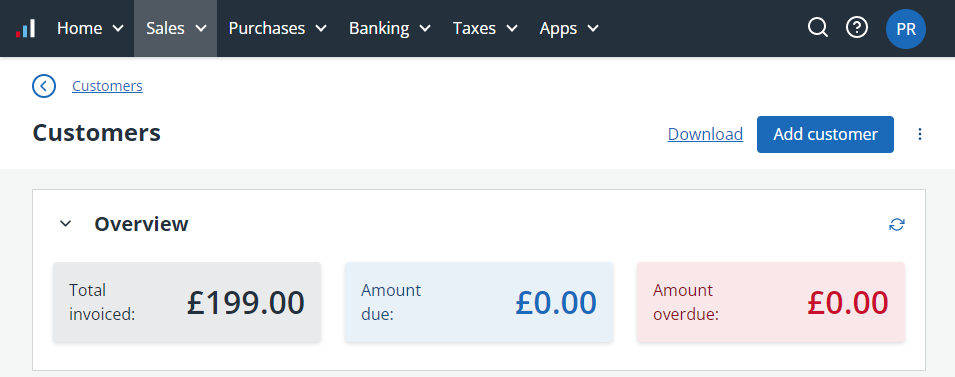
Go to Sales > Customers, then select Add customer.
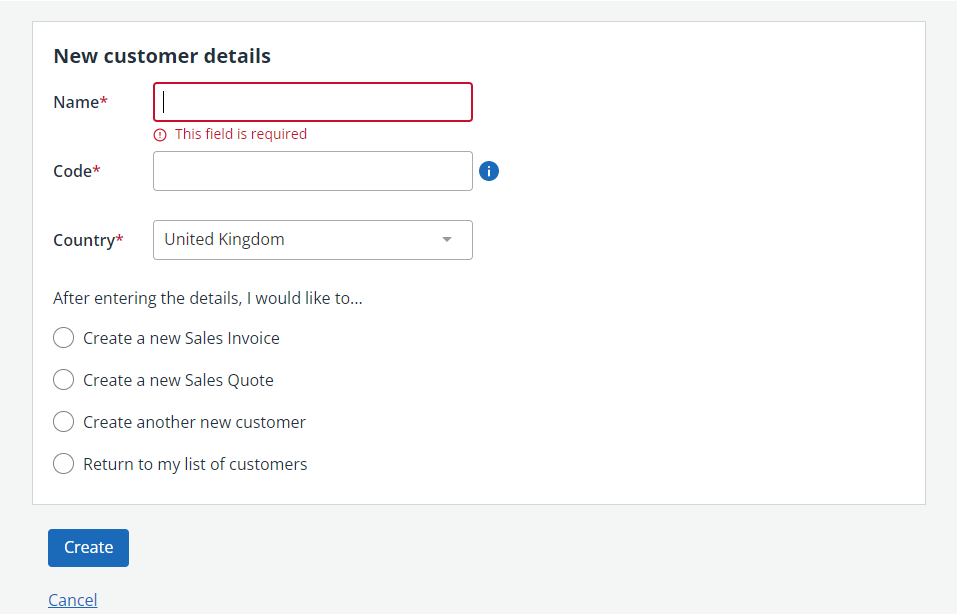
- Enter the customer Name. A customer Code is automatically created, but you can change this (it must be unique).
- The Country defaults to United Kingdom, but you can change this if your customer is based elsewhere.
-
Choose what to do after you have finished creating this customer. By default, you return to your list of customers, but you can choose to create a new invoice, quote or another customer.
-
Select Create. A customer record is created and shown with a series of tabs that you can select to add or view more information.
- Transactions - shows a financial overview, together with quotes, invoices, statements and average times to pay. From here, you can create a quote, create an invoice and record advanced payments.
-
Profile - used to view / enter customer details including name, address, telephone, email, etc. From here you can import customer details from Companies House, record a separate delivery address and add one or more contacts.
-
Options - use to set up how you will manage this customer, such as the default email template, sales code, currency, payment terms, etc. Refer to Set customer options.
-
Other info - use to record any other information such as GoCardless mandate numbers.
If you have CIS (Construction Industry Scheme) enabled, this tab is labelled CIS and is used to record CIS details for this customer.
-
Envelopes and forms - used to print envelopes and labels, and create standing order mandates.
-
Schedule statement - set a schedule to sent customer periodic statements.
Schedule statements are only available if you have switched to our new design.
-
You can also view/add notes to the customer record and attach files using your Dropbox account.
Next steps: