Create, Edit, and Delete Microsites
A microsite is a mini website that can contain one or more resources that can be updated when required. You can create microsites for exam preparation documents, sending out information ahead of school events or trips, display guides with links to videos, marking plans, or policy documents for your organisation A school, multi-academy trust (MAT), single academy trust (SAT), club, nursery or organisation that uses the software., and more.
When a microsite has been created, a custom button can be added in the MyEd Name of the application parents and carers use to receive messages sent by schools using IRIS Reach. app to access the microsite or a link or QR code can be sent in a message sent to communicate with a person A parent, legal guardian, carer, or someone responsible for a student. about the microsite. For more information, go to MyEd App Settings.
- Select Parent Reach Module for IRIS Reach used to send MyEd app messages, texts, or emails to parents and carers for individual or all students. > Microsite Manager.
- The Parent Reach - Microsite Manager page is displayed.
Create Microsites
- In Add New Microsite, enter a name in Title (e.g., GCSE). The Description is optional and not displayed in the MyEd app, then select Submit.
- The Parent Reach - Edit Microsite page is displayed. Select the Start Date and End Date to set when the microsite can be accessed.
-
Select an option from the Enable drop-down list to determine whether the site is available.
We recommend a Enable is set to No until resources have been added. If it is set to No and the End Date has passed, when the QR code is scanned, or the web-link is opened the There seems to be a problem with this link, please contact your school for further assistance message is displayed. The Microsite QR code is not sent in emails or messages, a web-link is added to the communication, however it can be copied and pasted into documents, parents' evening posters, or added to your organisation website etc.
-
In Add a Resource, enter a name for the resource in Title, select the type of resource from the Content Type, then select Submit.

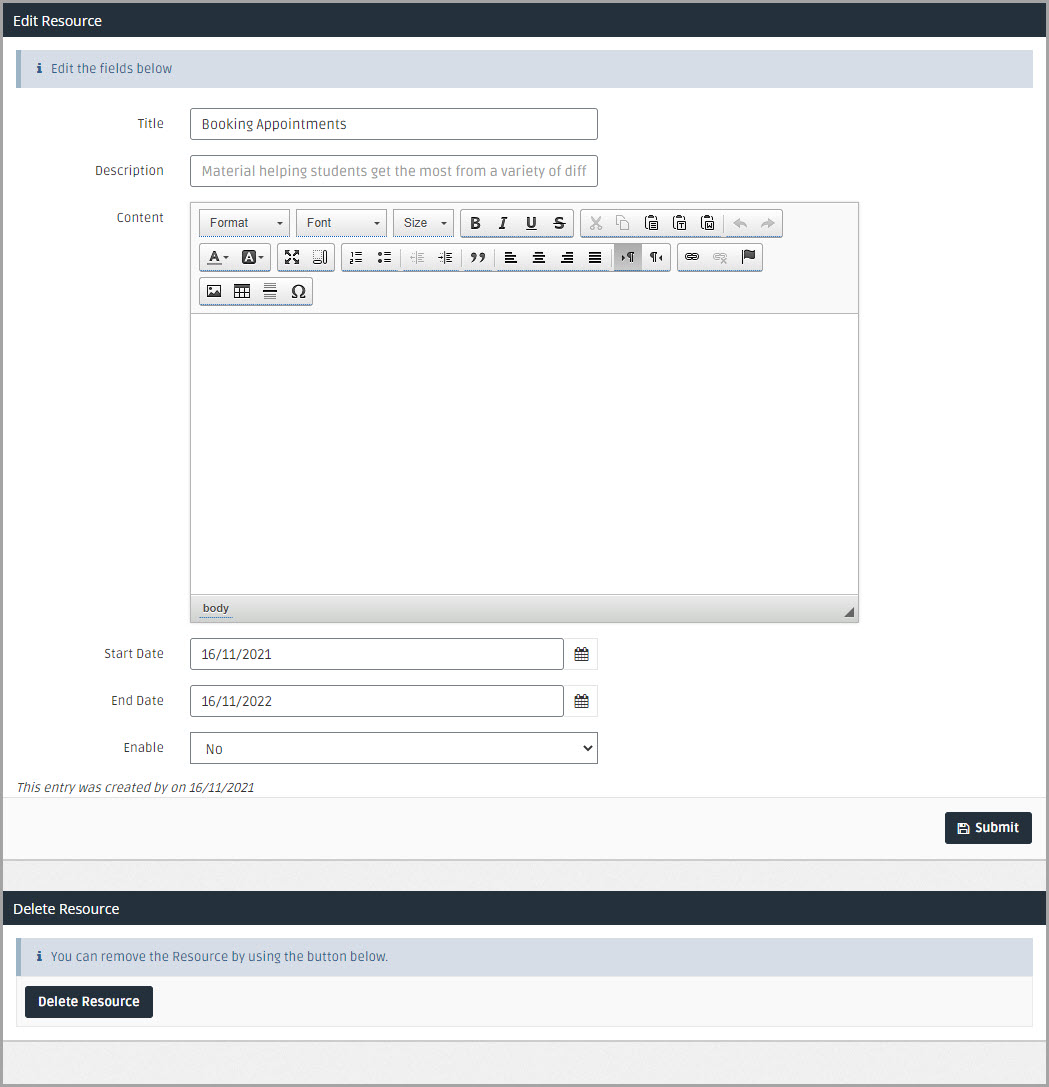
- The Parent Reach - Edit Microsite Resource page is displayed. For HTML enter the details for the resource and for RSS or URL enter the link for the resource in Content.
- Select the Start Date and End Date that you want the resource to be available for, select an option from the Enable drop-down list, then select Submit.
- The changes have been saved message is displayed. Select OK. The added resource is displayed in Resources in this microsite.
Edit Microsites
-
In Microsites, select the Title of the microsite you want to edit.
To view the contents of the QR code, select the link in the QR column for the required microsite.
-
The Parent Reach - Edit Microsite page is displayed. Edit the required details or resources, then select Submit in Edit Microsite to save the changes.
To edit a resource in a microsite, in Resources in this microsite, select the Title of the resource. The Parent Reach - Edit Microsite Resource page is displayed. Edit the required details, then select Submit to save the changes. If you want to remove a resource, in Delete Resource, select Delete Resource.
Delete Microsites
In Delete Microsites, select Delete this Microsite. The microsite is removed and the Parent Reach - Microsite Manager page is displayed.

Send Microsites in Messages
To send your microsite link or document to a person you can send in a message from IRIS Reach. You can send this on the date you require the information to be viewed or schedule it to be sent at a specific date and time (text message only).
- Select Parent Reach > Send Communication.
- The Parent Reach - Send Communication page is displayed. Select Send a Group Message or Send a Group Email.
-
The Parent Reach - Send a Message Step 1 of 4 is displayed. When entering the message, you must insert the [LINK1], [LINK2], or [LINK3] Dynamic Text A token that is replaced by text when a message is sent. For example, adding [Title], would be replaced with Miss, Mr, Mrs, depending on the title recorded in a database for the recipient., then make sure Pre Made Attachment 1, 2, or 3 includes your microsite link. For more information, go to Select Communication Recipients.
If you are sending the details of the microsite in a text message, you must:
- Select [LINK] from Dynamic Text to insert the microsite link in the message.
- To schedule sending the message, select the Send Date and Send Time.
- Make sure the Pre Made Attachment includes your microsite link.