Add an appointment
Use the Add an Appointment wizard to quickly enter details of any staff or student medical appointments.
To use the Add an Appointment wizard:
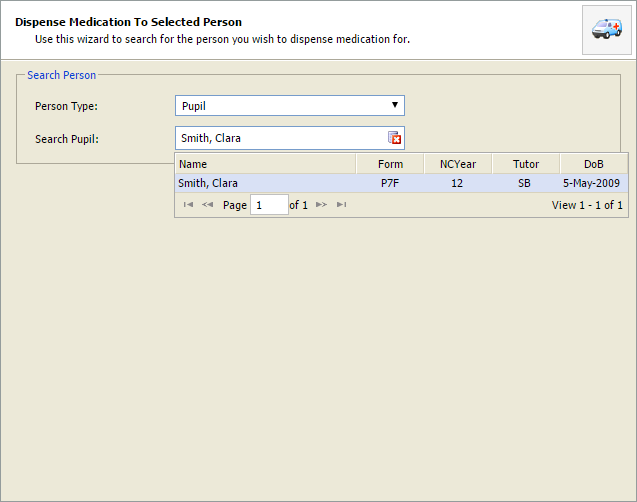
- Open the Medical Centre heading in the wizard bar on the right of your desktop and select Add an Appointment. The Create New Appointment popup window is displayed:
- Select the Person Type (Pupil/Student or Staff) that you want to dispense medication to.
- Start typing a name (forename or surname) in the Search Pupil/Staff box. A drop-down list of names is displayed.
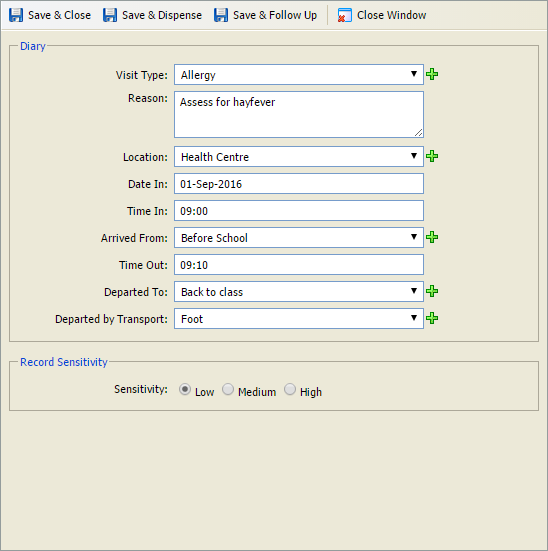
- Select a name to populate the Search Pupil/Staff box and select Select Person. The Diary window is displayed:
- Select a Visit Type or select the green plus icon to add a new one.
- Enter details of the appointment in the Reason field.
- Select a Location for the appointment or select the green plus icon to add a new one.
- Select a Date and Time In for the appointment to start.
- Select where the patient has Arrived From for their appointment or select the green plus icon to add a new one.
- Select a Time Out for the appointment. This and the Time In determine the length of the patient's appointment.
- Select a Departed To location for the entry. This indicates where the patient is going after the appointment. Select the green plus icon to add a new entry in this field.
- Select the Transport Type that the patient has used to leave the appointment or select the green plus icon to add a new one.
-
Select either:
- Save & Close. The window closes and the appointment displays in the selected patient's medical record (you can only access this if you have the appropriate permissions in the Medical Centre module). It is also displayed in orange in the Medical Centre calendar. Appointments are colour coded in the calendar. Orange indicates that this is a general appointment. If the Departed To location has been checked Out of School in Reference Data, a popup window prompts Would you like to register this pupil/student as out of school? Select Yes. This only applies to student appointments. The student is logged as Out of School in the register.
- Save & Dispense. The Medication window opens to log the medication dispensed to the patient. or
- Save & Follow Up.
Save & Dispense
Complete the fields displayed in the Medication window:
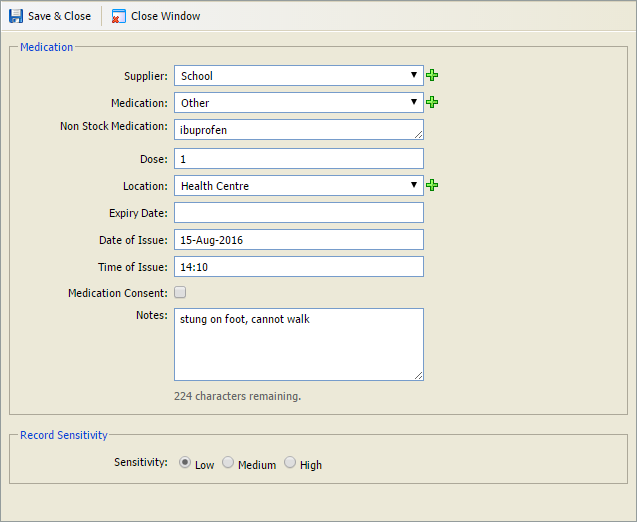
- Select the Supplier of the medication or select the green plus icon to add a new one.
- Select the Medication being provided. If Other is selected, enter the name of the Non Stock Medication in the field displayed.
- Select the Dose being dispensed and the Location of the medication. Select the green plus icon to add a new location if required.
- Set the Expiry Date of the medication and the Date and Time of Issue.
- Check the Medication Consent checkbox if applicable. This is for records only.
- Enter any relevant Notes regarding the treatment.
- Set the Record Sensitivity for this record.
- Select Save & Close. The window closes and the appointment displays in the selected patient's medical record. The medication is listed in the Medication option. The appointment is also displayed in orange in the Medical Centre calendar. Appointments are colour coded in the calendar. Orange indicates that this is a general appointment.
- Choose to add a follow up appointment now if necessary (you can only access this if you have the appropriate permissions in the Medical Centre module). Select the edit icon in the new appointment and select Save & Follow Up in the window displayed:
Save & Follow Up
Complete the fields displayed in the Diary window:
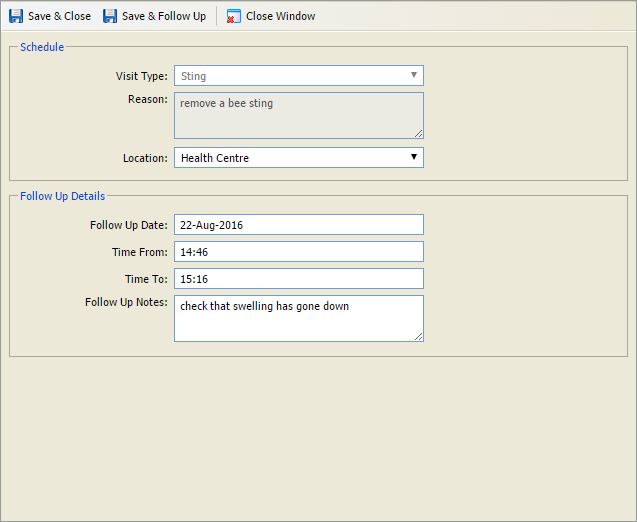
- The details in the Schedule section are completed for you. Change the Location for the follow up appointment if necessary.
- Set the Follow Up Date and Time.
- Add any relevant Follow Up Notes regarding the treatment.
- Either:
- Save & Follow Up to add another follow
up appointment.
or - Save & Close. The window closes and the appointment displays in the selected patient's medical record. It is also displayed in green in the Medical Centre calendar. Appointments are colour coded in the calendar. Green indicates that this is a follow-up appointment.
- Save & Follow Up to add another follow
up appointment.