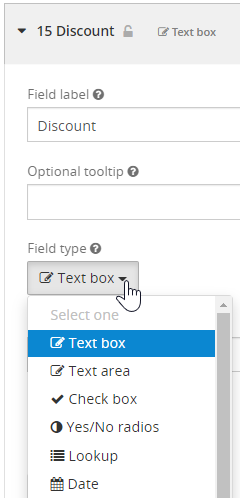
Field types
There are many different field types within Senta, which allow you to collect and store a wide range of information.
When you adding a field to a form, the default field type is Text box however there are lots more to choose from in the list of Field types:
Summary
Here is a summary of each field type. (F) indicates which fields can be used as filters .
| Field type | Description |
| Text box | A single line where you can enter text |
| Text area | A large area where you can enter multiple lines of text |
| Check box | Tick to select |
| Yes/No radios | Answer yes or no to a question |
| Lookup | Select from a dropdown menu |
| Date | Select a date |
| Month | Select a month |
| Day & Month | Select a day and month |
| Quarter | Select a quarter |
| URL | Enter a hyperlink |
| Enter a Twitter @ link | |
| Email address | Enter an email address |
| Telephone number | Enter a telephone number |
| Percent | Enter a percentage |
| Money | Enter an amount of money |
| Number | Enter a number |
| User | Select a specialist from all users |
| Manager | Select a user with Practice manager permissions |
| Team | Select a team |
| Client role | Assign roles to contacts |
| Image | Save an image |
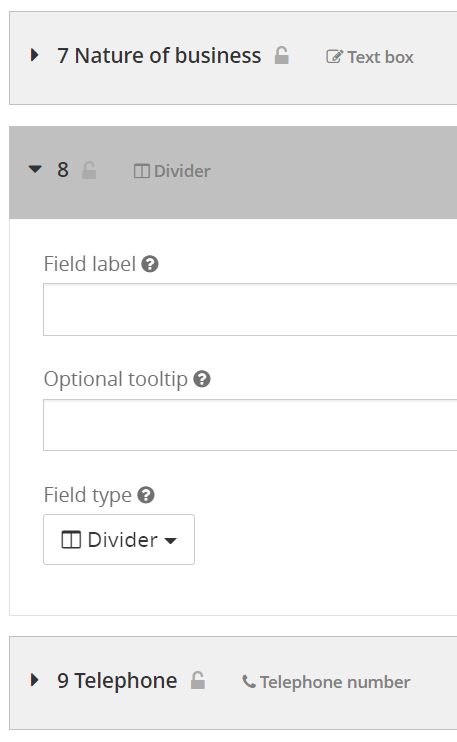
| Divider | Everything below this field will display in a new column on the same form |
Examples
Text box

In a Text box you can add one line of letters and/or numbers.
Text area
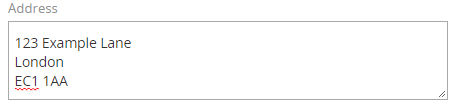
The Text area is similar to the Text box, but has more space to write in. It's ideal for addresses or notes and the width can easily be expanded in the bottom right corner.
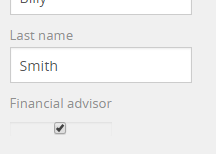
Check box
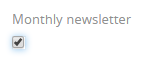
The Check box gives you the option to tick a box - in the example above, your clients or users would tick the box to opt-in to your monthly newsletter.
To create a checklist, add multiple Check box fields to your form.
Due to the purpose of the Check box field type being ticked or unticked, it is not possible to make this field mandatory as part of a form.
Yes/No radios
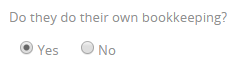
These give the option to choose between Yes and No.
If you require your client or user to choose an answer, set this field to be mandatory.
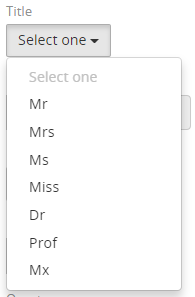
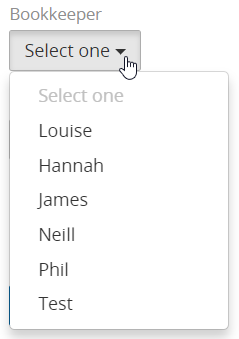
Lookup
A Lookup field is essentially an editable drop-down menu. Lookups only allow you to select one option from a drop-down menu.
When creating a Lookup field, choose the Lookup field type and then the related Lookup.

When completing a form, the Lookup field will display like so:
Date
In the Date field you can input a date.This field can be used in job dates.
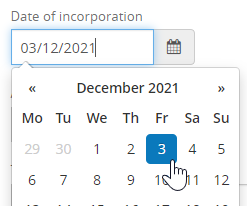
The format varies depending on the date format you have set for your workspace.
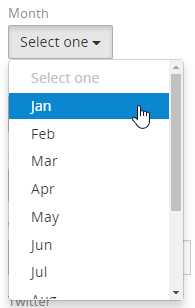
Month
The Month field allows you to choose a specific month in MMM format.
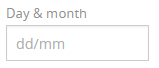
Day & Month
The Day & Month field allows you to choose a date, using the date format set in your workspace.
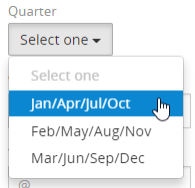
Quarter
In the Quarter field you can choose when each quarter ends. This field can be used in job dates.
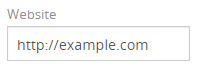
URL
In this field you can input a URL. It will show as a link once saved, and you can click on it to go directly to that page.
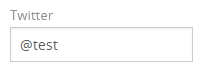
In this field you can add a Twitter handle.
It will automatically populate the '@'. This will also link you directly to the relevant Twitter page.
Email address
This field allows you to input an email address.
It will show as a link once saved, and when clicked will bring you directly to the Outbox and will populate the email address for you.
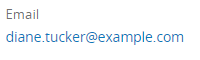
It is only possible to send emails to email addresses already stored against contacts.
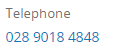
Telephone number
This field is for telephone numbers.
It will show as a link once saved, if you click on it you will be directed to any call-making integration you have set up to call this number.
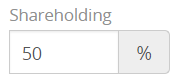
Percent
In the Percent field you can specify a percentage.
Money
The Money field lets you input a monetary value.
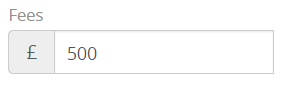
It is important in Money fields to not include a comma e.g. £1234.56 rather than £1,234.56. However, once saved, this number will show including a comma.
The currency shown depends on what is set up in your workspace settings.
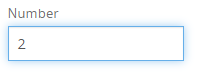
Number
Only numbers can be entered into the Number field.
User
The User field lets you specify which of your practice users should be assigned to a client or task.
This field type will not display in the Client portal.
If you'd like to read more about the User field, you can view our guide here.
Manager
The Manager field allows you to set which user will manage a client.
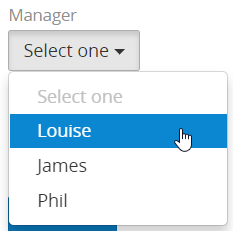
Only users with a Practice manager or Account manager user type will show in this list.
This field type will not show in the Client portal.
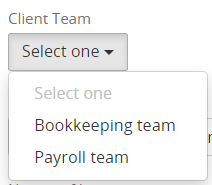
Team
The Team field type is available when the Teams feature has been enabled in Settings > General settings > Extras.
This will allow you to choose a specific team to be assigned to a client:
For more information on the Teams feature, see our guide.
Client role
The Client role field type is only available in the Contact details form. This adds a checkbox to the Contacts tab on the client record to assign a contact to specific role which can be for task assignments and email recipients in jobs.
For more information about using Client role please go to client contact roles.
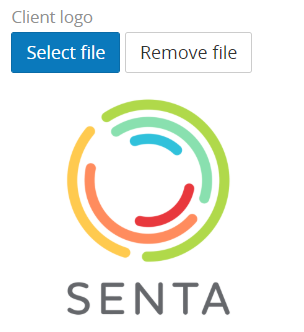
Image
Here you can upload an image ,for example, a client logo.
Divider
The Divider will make the next set of fields appear on the right of the previous fields, instead of underneath them.
When setting up the field, a field label or tooltip is not required.
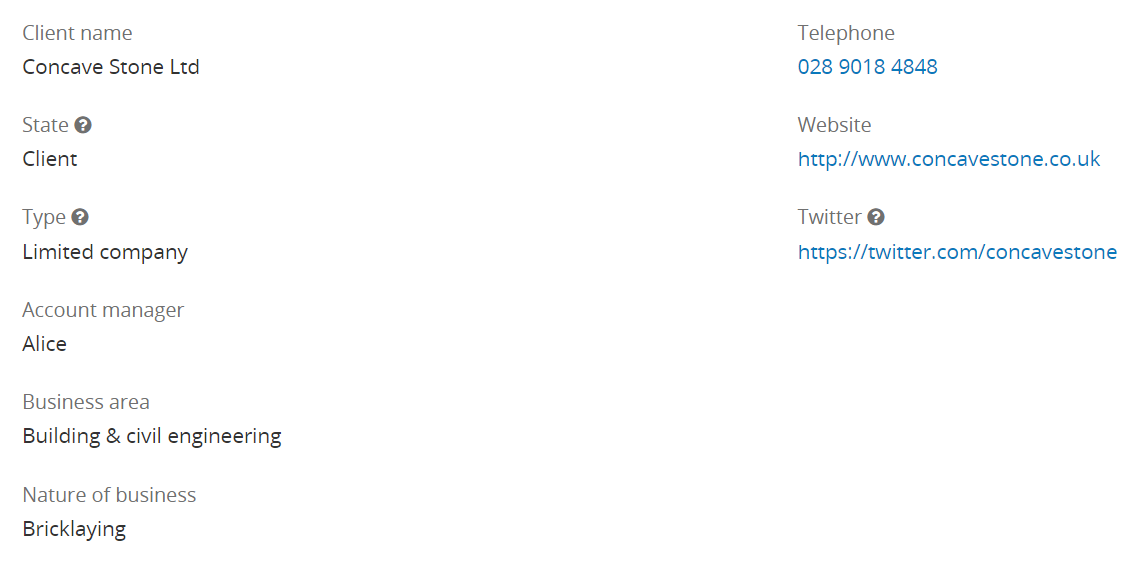
The above fields would display as follows in a completed form: