Customise documents using PDF themes
You can customise a majority of documents using in IRIS KashFlow (such as invoices, quotes, purchase orders, statements, etc.) to include logos, background images, different fonts, sizes and colours, etc.
Documents are customised using PDF themes.
-
Go to Settings. (If you've switched to the new design, select your initials, then Account Settings.)
-
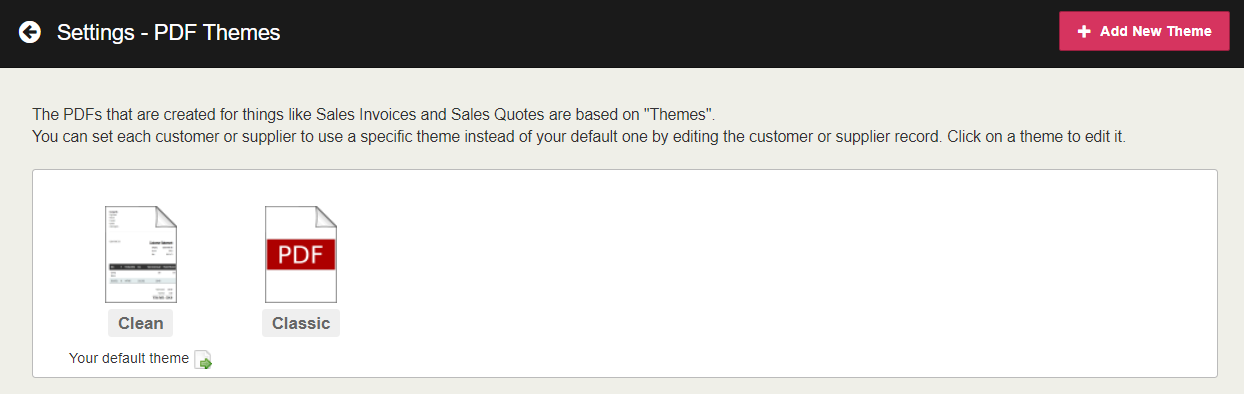
From the Configuration Settings section, select PDF Themes.
Two themes are available by default.
-
Clean - a basic theme predominantly used to create other templates.
-
Classic - contains typical the business information used in most documents.
-
-
Select the required existing theme or select Add New Theme.
-
If creating a new theme, you will need enter a theme Name and select an existing Template on which to base the new theme. Select Create Theme.

-
Complete or edit the theme as described in the following sections. You can select Save & Exit or Save & Preview at any point during the process.
The Basics tab
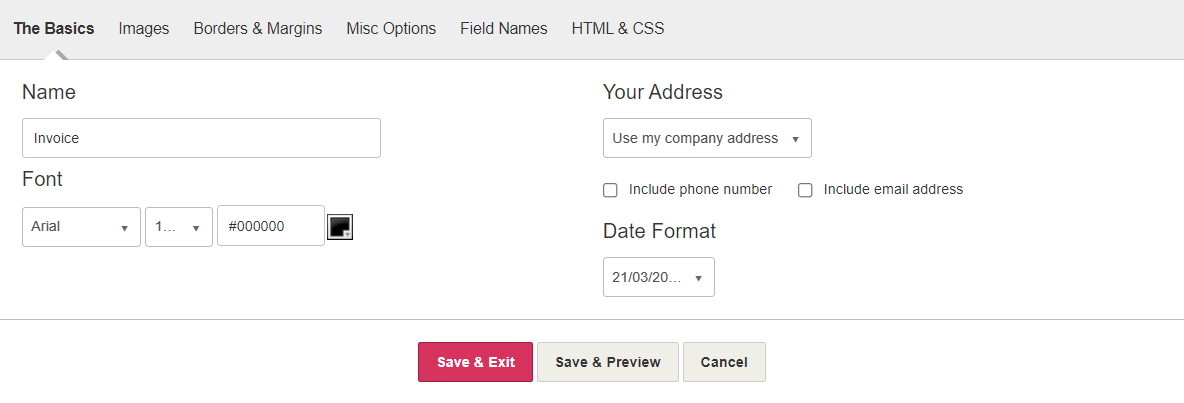
- Name - add or edit the PDF theme name.
-
Font - change the font style, size, and colour.
-
Your Address - choose whether you want to show an address on the document. You can Use my company address which is the address specified in Company Details or you can Specify a different address.
-
Choose whether to Include phone number or Include email address stored in Company Details.
-
Select the Date Formatto be used on the document.
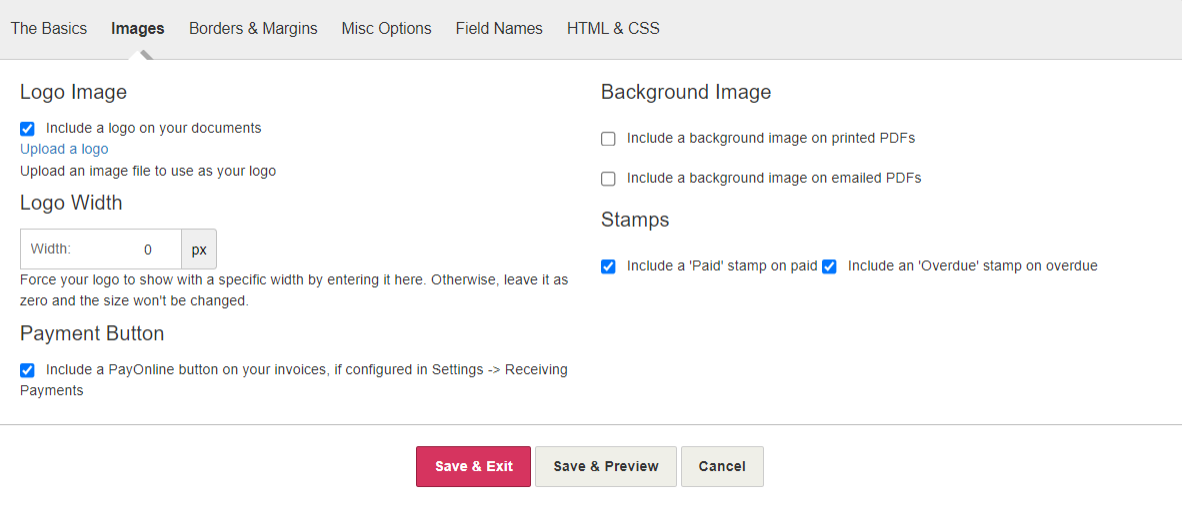
Images tab
-
Logo - you can upload your company logo. If needed you can resize the logo by entering the required width.
-
Background - you can upload and include a background image on printed or emailed PDFs your documents by selecting the applicable check box. If either option is selected you can choose to repeat the image on additional pages.
-
Payment Button - choose this option to include a Pay Online button on your invoices. If chosen, you will need to Configure pay online.
-
Stamps - you can add payment stamps which identify the payment status of the document. Select the checkboxes to decide whether or not to include these for paid and overdue Invoices.
Borders & Margins
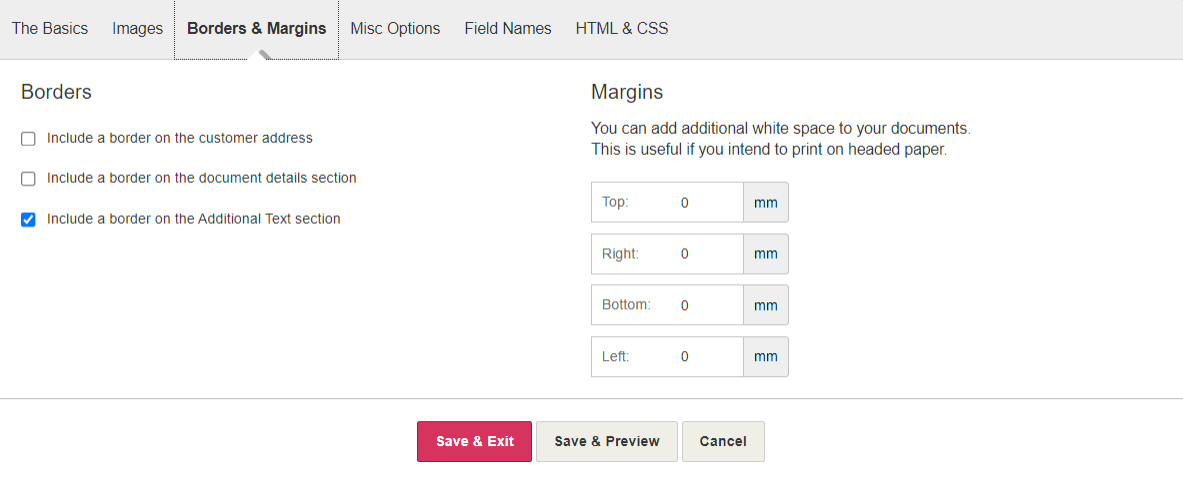
You can add borders around the sections of your documents and change the document margins.
-
Borders - select the required checkboxes.
-
Margins - enter the number of millimetres for each margin.
Misc Options
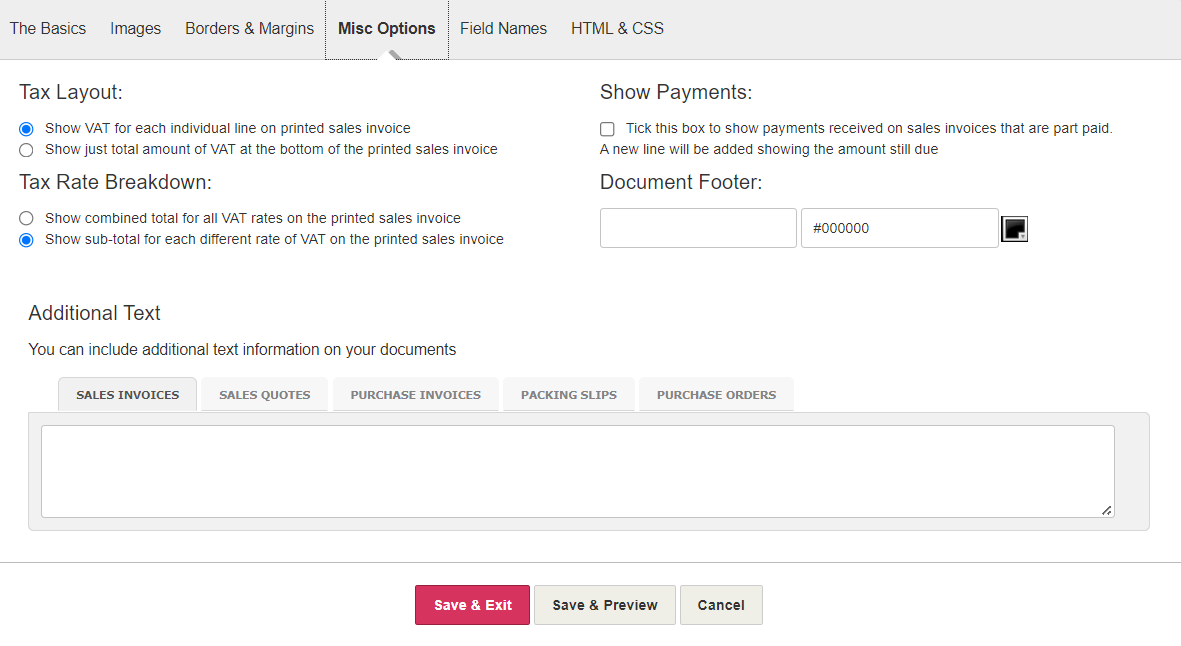
These options let you set various other settings that affect your documents:
-
Tax Layout - use these options to decide how to show the VAT amounts on your printed invoices. You can either show on a per line item basis or as a total.
-
Show Payments - select this option to show what has been paid and what is still due on part paid Invoices
-
Tax Rate Breakdown - use these options to decide if the VAT rates should be shown per item or as a sub-total.
-
Document Footer - enter a footer to be displayed on all your printed documents.
For limited companies, the footer should include the registered office address and company number. For further details please refer to the guidance provided by gov.uk:
https://www.gov.uk/running-a-limited-company/signs-stationery-and-promotional-material
-
Additional Text - use this field to enter a standard piece of text to be included on all your documents, such as terms and conditions. You can define different text for invoices, quotes, purchases, packing slips or purchase orders.
Field Names
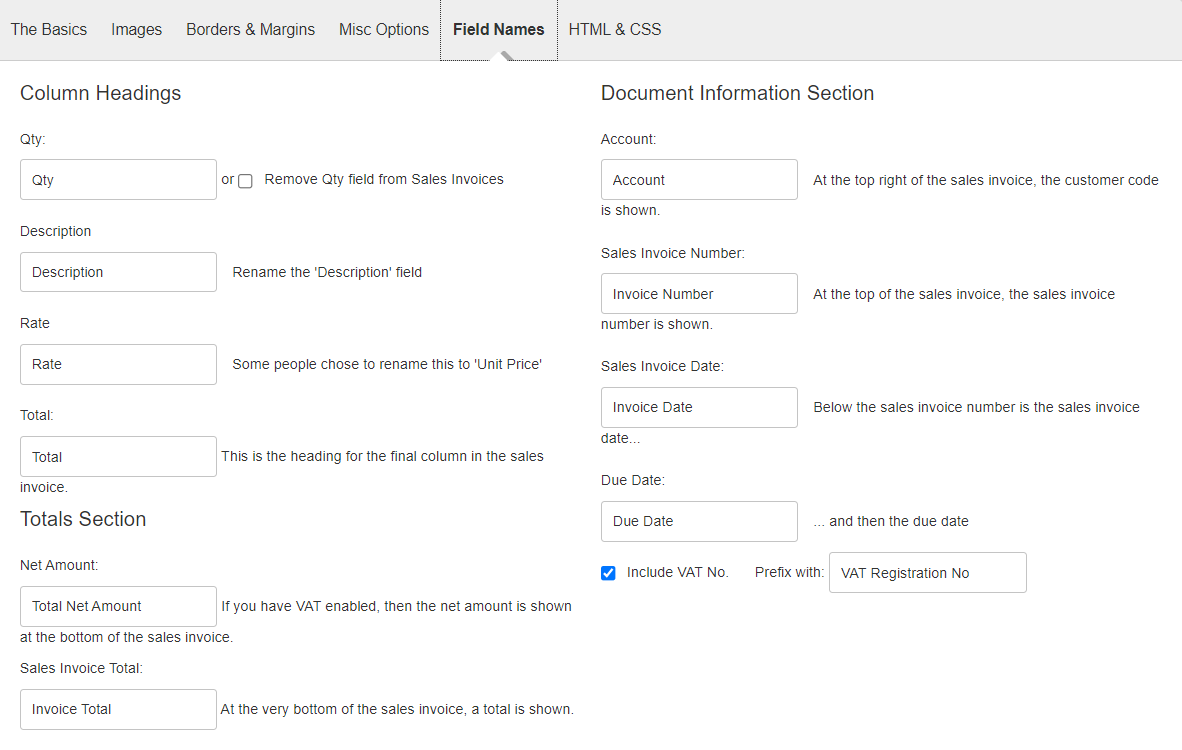
This tab is used to rename any of the labels on your documents. Simply overtype the name.
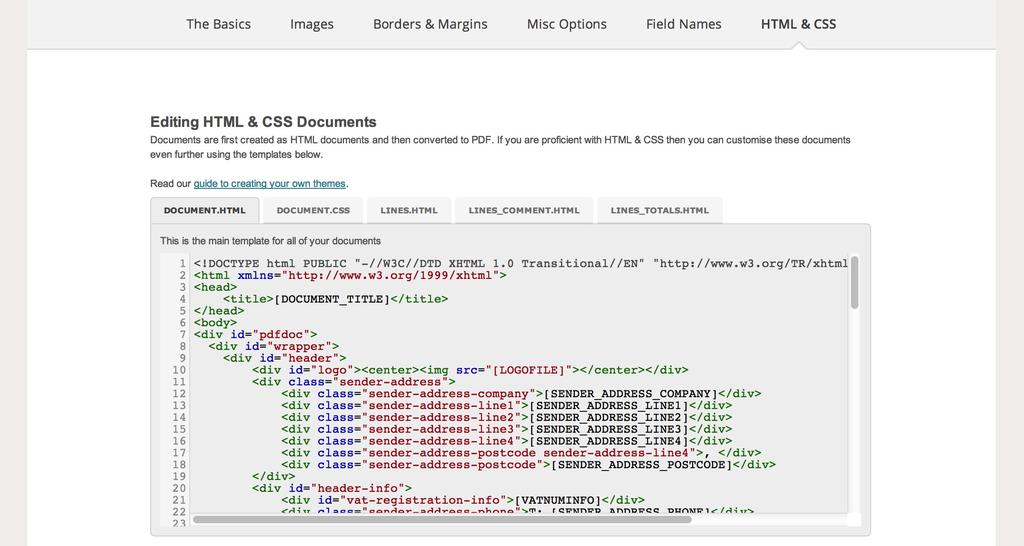
HTML & CSS
If you have an understanding of HTML and CSS, you can add additional content to your invoices, such as non numeric invoices. Find out more
You should only use this option if you’re confident with HTML and CSS. We are unable to give any advice or support on HTML or CSS.