Use automatic credit control
Automatic credit control automatically emails customer reminders when invoices will soon be overdue, or at a frequency you set. If you use a Pay Online button, you can also include a link so that your customer can pay you immediately.
-
Go to Settings. (If you've switched to the new design, select your initials, then Account Settings.)
-
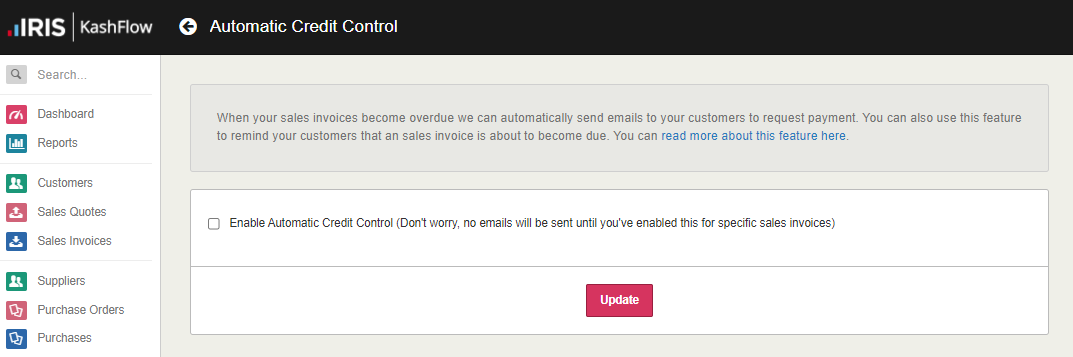
From Configuration Settings, select Automatic Credit Control.
-
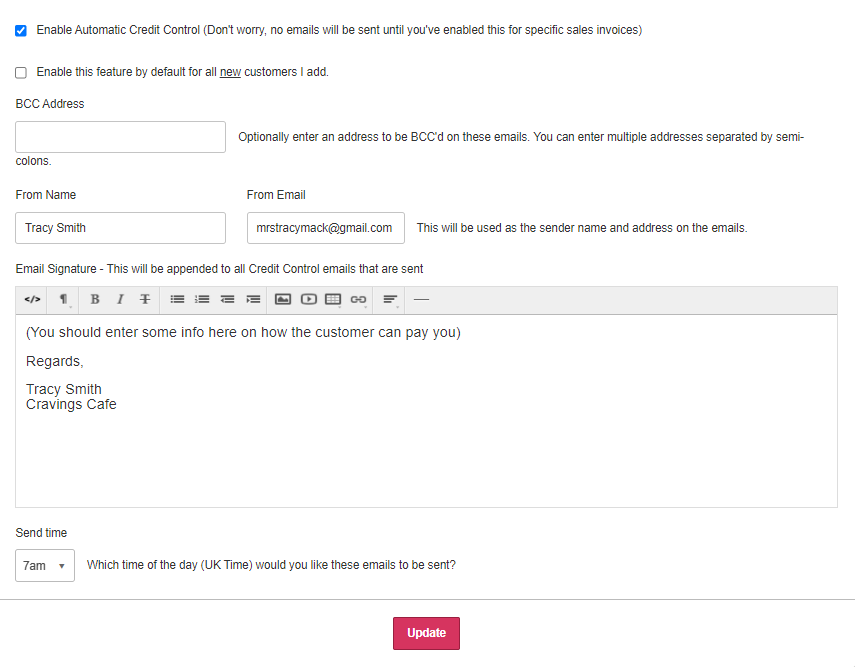
Select Enable Automatic Credit Control.
-
Choose whether to Enable this feature by default for all new customers. If selected, choose whether to Turn on this feature for all existing customers or Enable credit control on all existing sales invoices.
-
The remainder of the form deals with the invoices that are sent:
-
enter a BCC Address if needed. Separate multiple emails with a semi colon.
-
edit From Name or From Email.
-
enter the content to include in the Email Signature such as payment and contact details. You can add the email content later.
-
choose the time to send the email by selecting from the Send time list.
-
-
Before selecting Update, add the email content.
Add the email content
-
At the end of the Automatic Credit Control form, select Add Email.
-
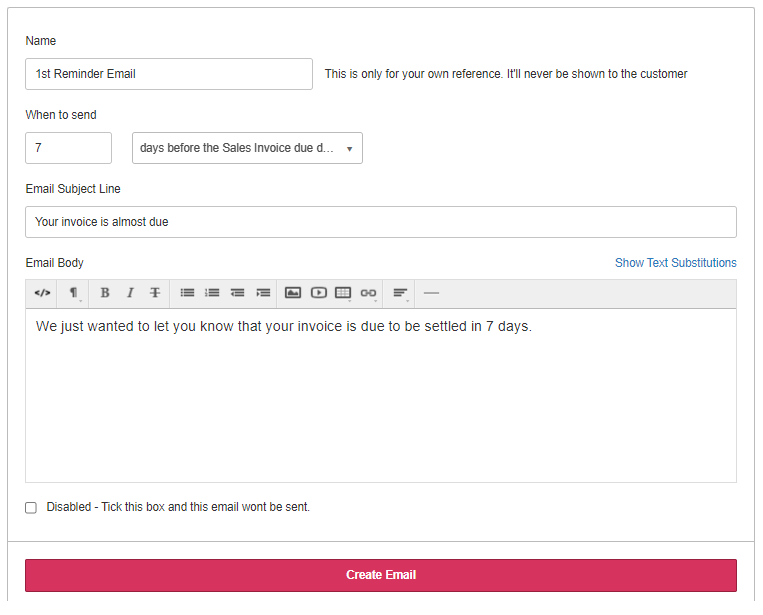
Enter a Name for the email (not visible to the customer).
-
Choose When to send the email by entering the number of days in the box then choose the number of days option from the list.
- Enter an Email Subject Line.
-
In Email Body, enter the content of the email. Use the icons at the top to format the text, insert images, videos, hyperlinks and horizontal lines (hover over an icon to find out what it does).
-
You can also insert text substitutions. These will be replaced with values from IRIS KashFlow when the email is produced. For example, [FIRSTNAME] is replaced by the contact's first name. Select Show Text Substitutions.
-
Select Create Email. The email template is saved at the end of the form. Select Edit to edit the content.
-
Select Update.