Use in-column filtering
Learn how to use in-column filtering in IRIS Practice Engine.
-
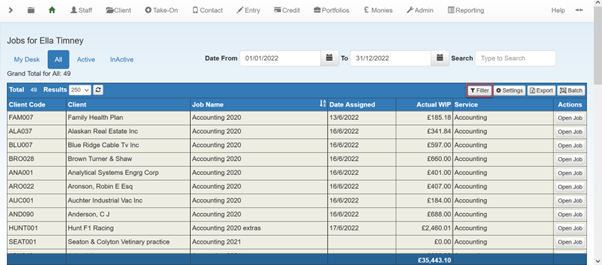
Select the Filter button from the top of the grid.
-
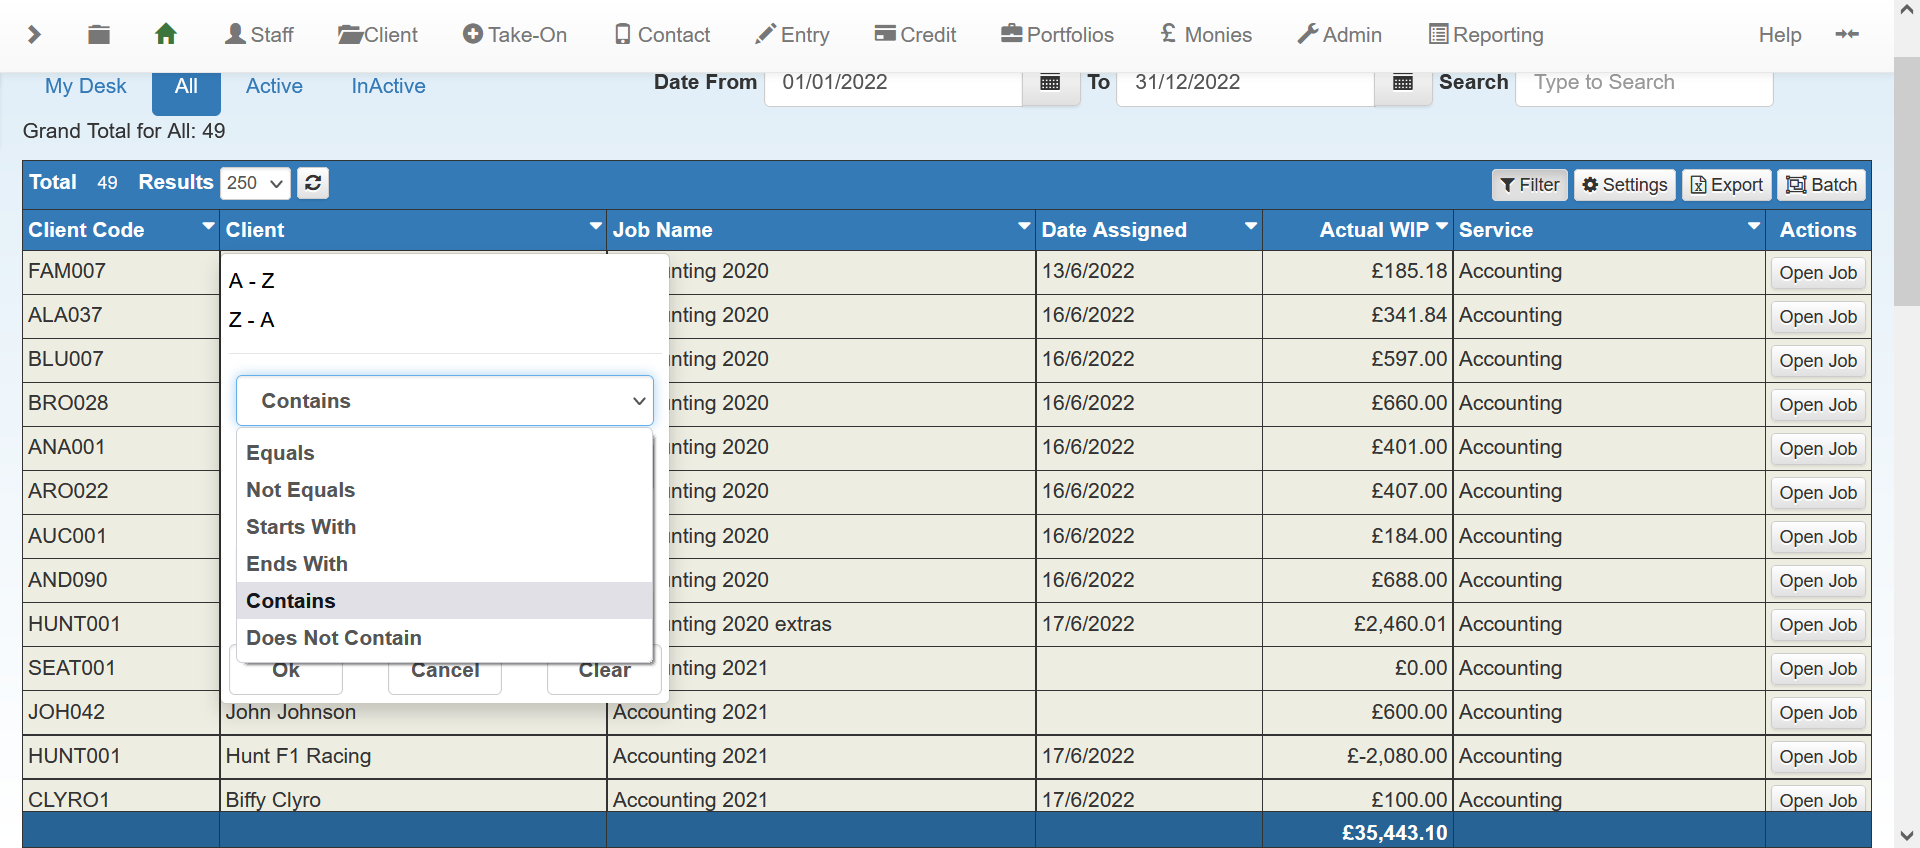
Small arrow icons appear on the column headers that advanced filtering can be applied to. Select the arrow of the column you would like to filter on.
-
The filter panel contains a number of options to filter the data. At the top there is the option to sort the data in the column by ascending (A-Z) or descending (Z-A). Below that is a drop-down menu with a list of filtering options.
-
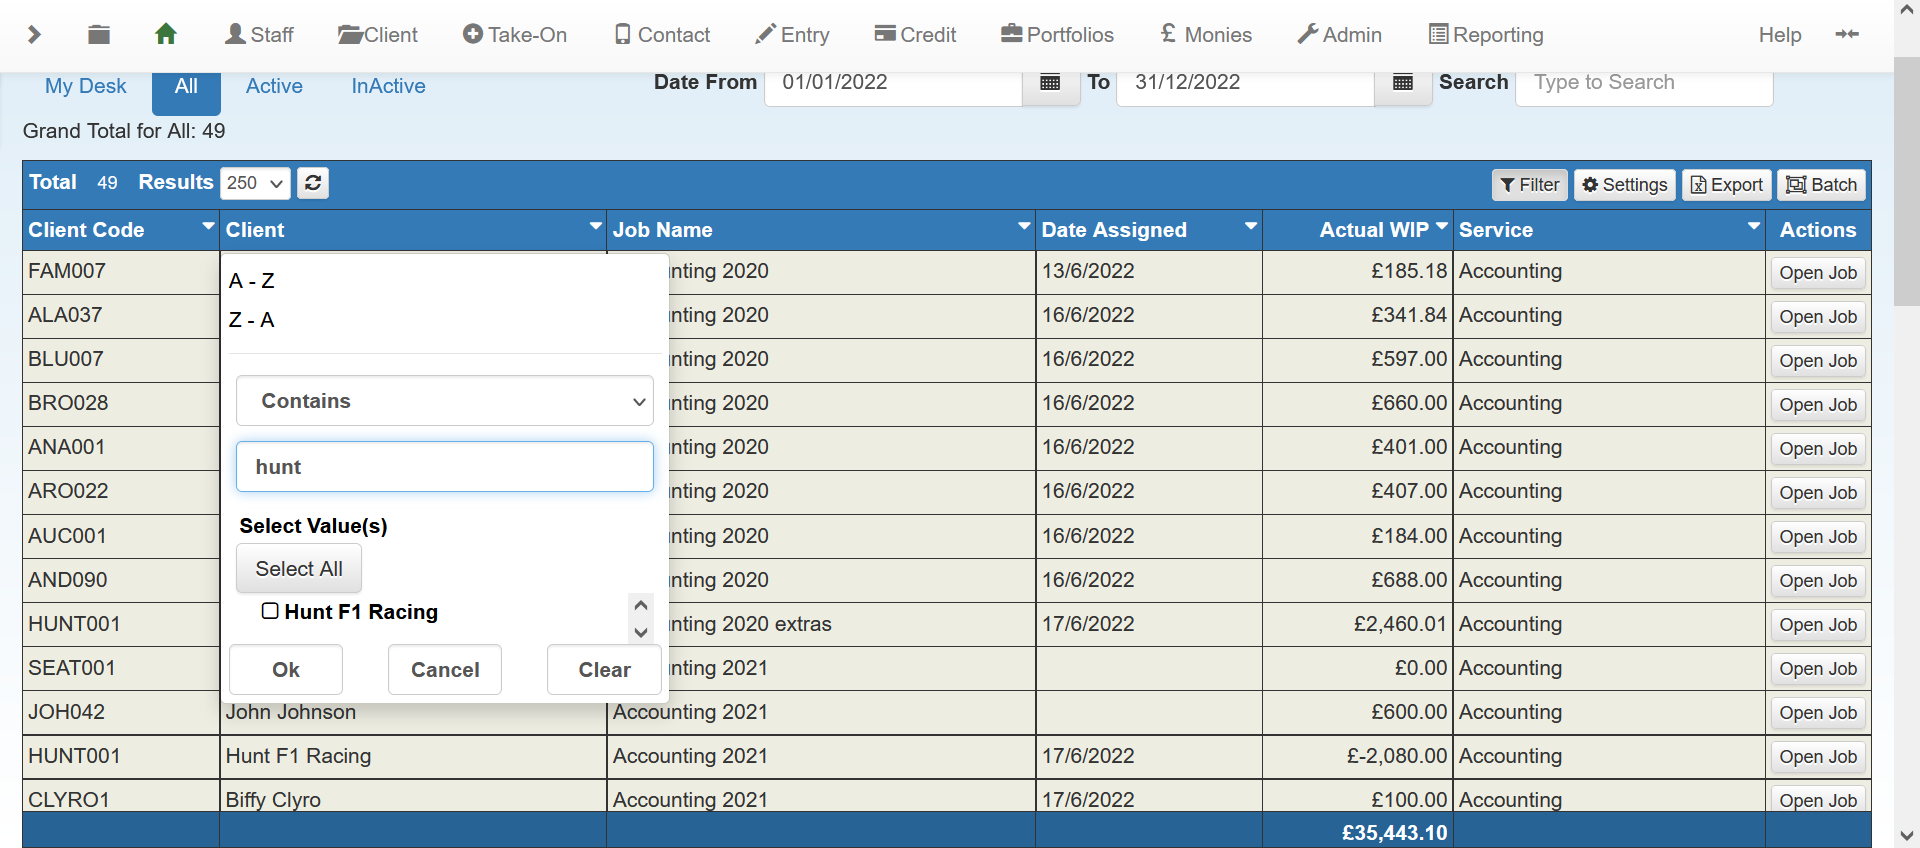
Select your preferred option. In the search box that appears, type the word, number, or date that you would like to search for. In this example, we would like to search for my jobs with the client Hunt F1 Racing, so we select Contains from the drop-down and type hunt into the search box.
-
Select the values returned by the search. In an instance where you have more than one search result for the word or number you have typed, the Select Values list will allow you to select whichever checkbox option you would like to see. If only one search result is returned, you can skip selecting the checkbox and select Okay.
-
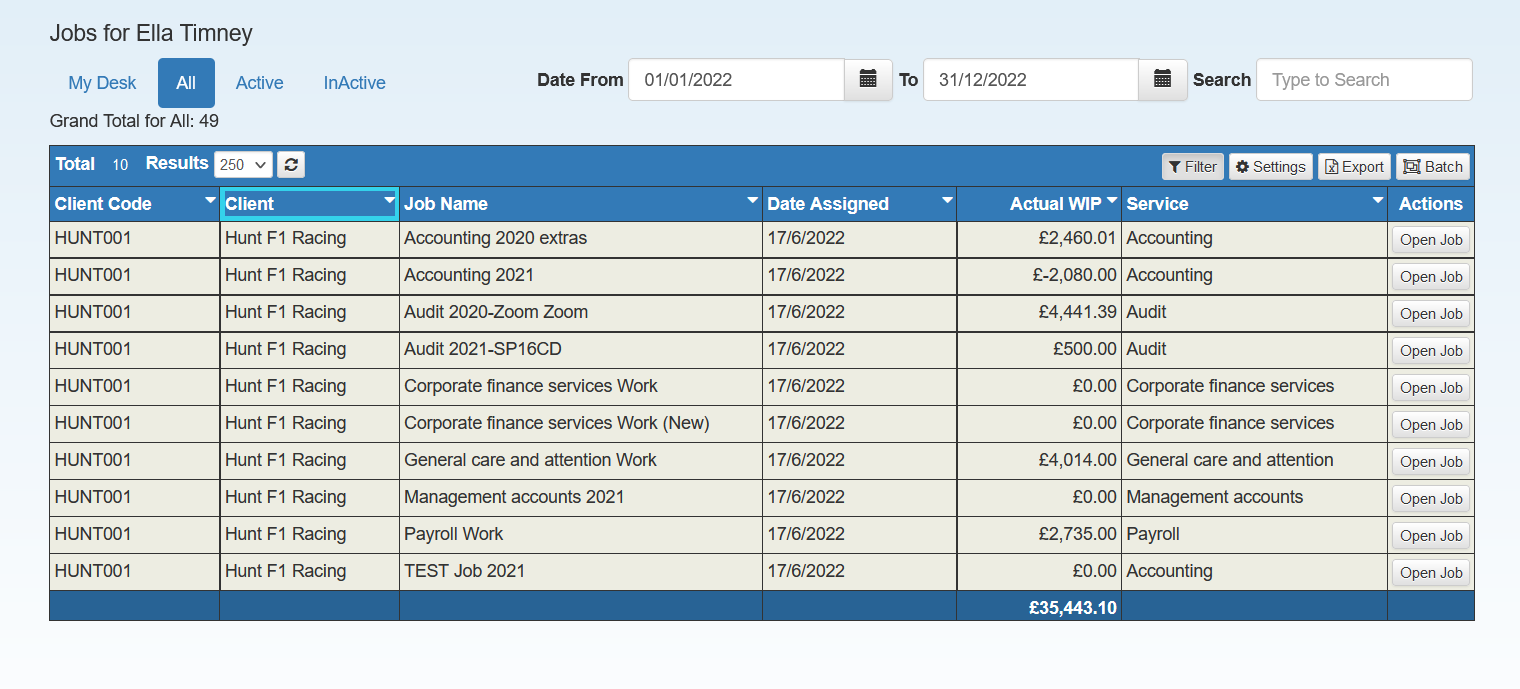
The data is returned with the filters applied.
-
At this stage, you may have refined the data enough to work with. However, you can filter data further to make the data set even more convenient to work with. Simply select the column headers that you would like to filter by and apply the desired additional filters.
-
To remove filters from the columns, select the Filter button at the top of the grid. This removes any active filters on the grid.
-
If you wish to clear filters from individual columns instead of the whole grid, open the column you would like to reset and select the Clear button.