Put a student in detention
This is quick way to add students to a detention session even if you do not have access to the full Detention Manager module.
The Detention wizard must be enabled before this feature can be used. Detention Manager > Manage Detentions > Detention Settings > Configuration > Wizard Bar Options.
To use the wizard:
- Expand the Detention Manager heading in the wizard bar.
- Select Put Student in Detention. Step 1 of the Detention Wizard is displayed:

Detention wizard. Step 1 of 5
- Start typing in a student name (forename or surname) in the Student Selection box. A drop-down list of students is displayed.
- Select the student name to populate the Student Selection box and select the plus student icon. The student is listed in the lower panel.
- Select Next Step to display Step 2 of the wizard.
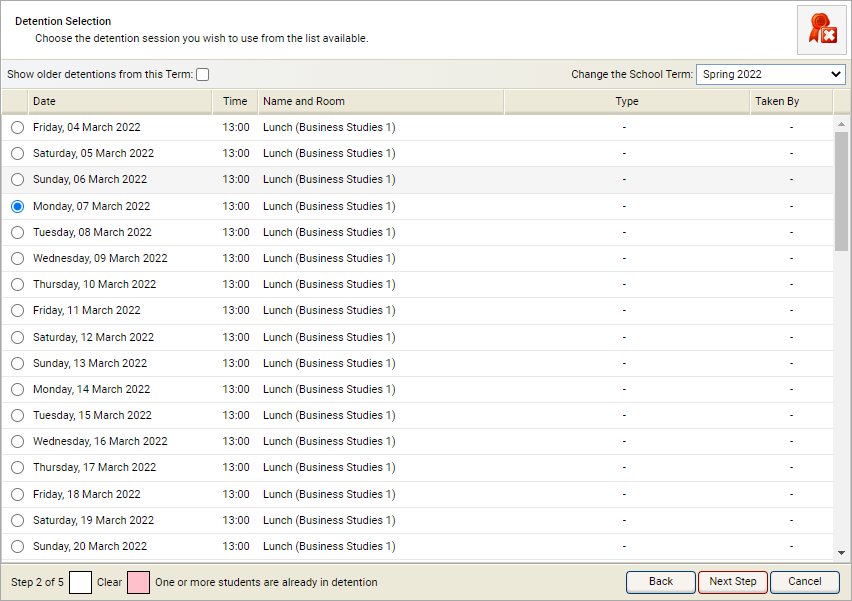
Detention wizard. Step 2 of 5
- Select a detention session:
- You cannot select detention sessions that have already happened.
- Your selected student is already in any sessions marked red. Depending on the configuration of the module, it is possible to book the student into two detention sessions during the same time slot.
- Select Next Step to display Step 3 of the wizard.
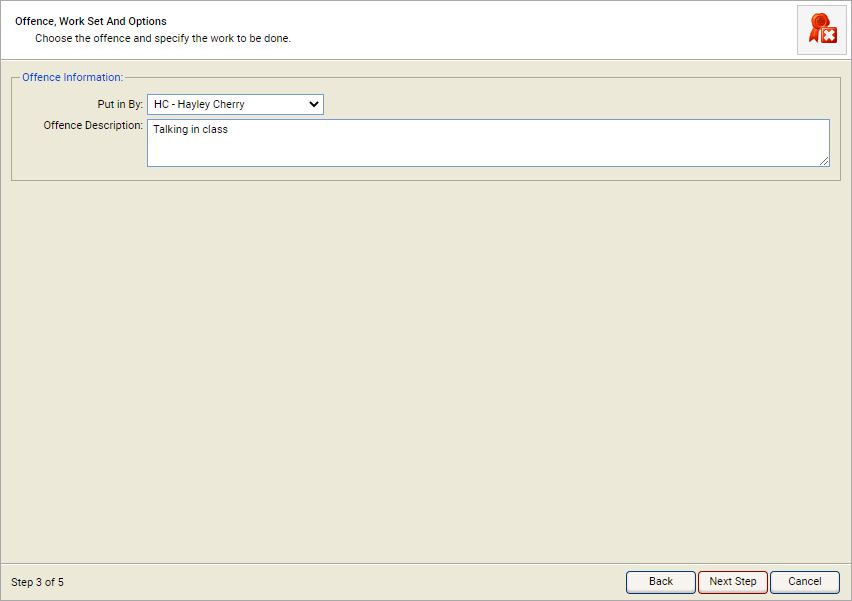
Detention wizard. Step 3 of 5
- The Put in By field is populated with your name by default. Use the drop-down list to change this if required:
- Enter the reason for the detention in the Offence Description field.
- Use the Work Set field to enter the work that is to be completed by the student during the detention session. This field may be mandatory depending on configuration settings.
- Check the Community Detention box to indicate that the detention is a community detention, if required. This field may not be available depending on configuration settings.
- Select the Detention Length as either a single or double period. This field may not be available depending on configuration settings.
- Use the drop-down list to select the Department that this detention is linked to. This field may be mandatory depending on configuration settings.
- Select Next Step to display Step 4 of the wizard.
Detention Wizard. Step 4 of 5
A summary of the detention is displayed:
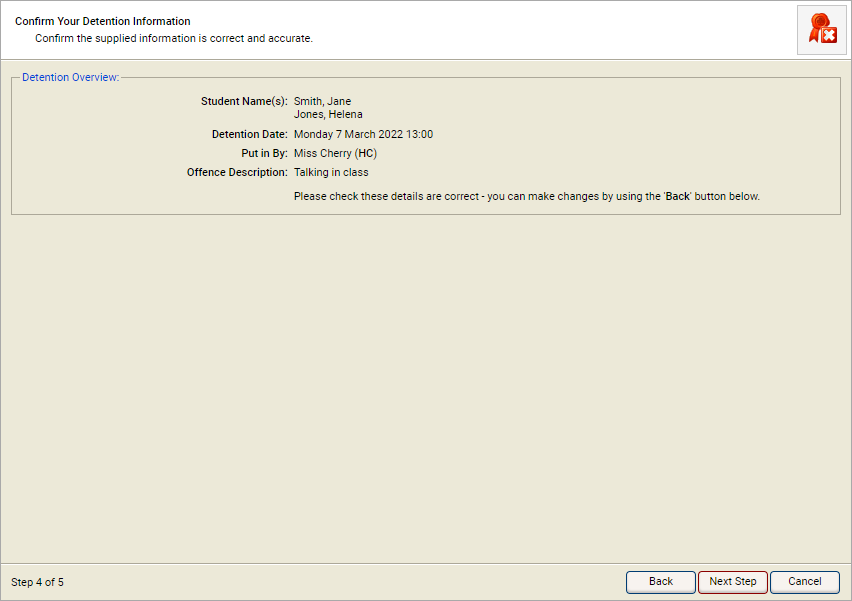
- Check that the details are correct.
- Use the Back button to move back through the wizard and make any changes if necessary.
- Check the print detention slip box if required. This field may not be available depending on configuration settings.
- Select Next Step once you are satisfied that the detention is logged correctly. Step 5 of the wizard is displayed.
Detention wizard. Step 5 of 5
- Select the link to download the detention slip if available.
- Open or save as required.
- Select Finish. All detentions are listed in each student's Student Profile record.
- The detention is either:
-
Listed in the Detentions Manager option
ready for authorisation. This only occurs if the module is configured to use the Detention Authorisation System.
or - Listed in Detention Manager > View Detentions if no authorisation is required.
-
Listed in the Detentions Manager option
ready for authorisation. This only occurs if the module is configured to use the Detention Authorisation System.