Create a concern
This is a shortcut for logging pastoral concerns and can be used even if you do not have full access to the Safeguarding module.
To use the Create a Concern wizard:
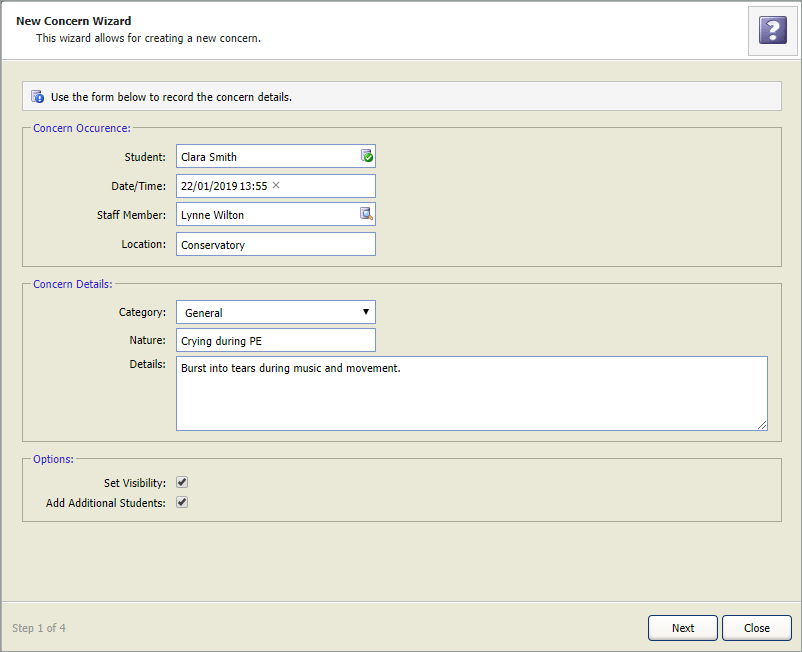
- Expand the Safeguarding Manager heading in the wizard bar and select Create a Concern. Step 1 of the Safeguarding Manager wizard is displayed:
-
Complete the Concern Occurence section:
Field Student Start entering the student's first name or surname. Select the student that you want to work with from the list displayed. Date/Time Select in the field to display a popup calendar. Scroll through the calendar to find the date that you want to use. Select a date to select it. Use the arrows at the bottom of the calendar to set the time. Select to set the date/time. Staff Member This is the source of the concern. This defaults to your name. Alternatively start entering a staff member's first name or surname. Select the staff member from the list displayed. Location Enter the location where the concern arose. This is a free text box, so does not have to be on school grounds. -
Complete the Concern Details section:
Field Category Select a category to apply to the concern. Nature Enter a clear and concise title for the concern, such as 'Crying during PE'. Details Enter details of the concern. -
Use the checkboxes in the Options section to:
- Set Visibility. Enable only selected users to view the concern.
- Add Additional Students. Enable more students to be linked to the concern. This is useful for adding bystanders or anyone who was directly involved.
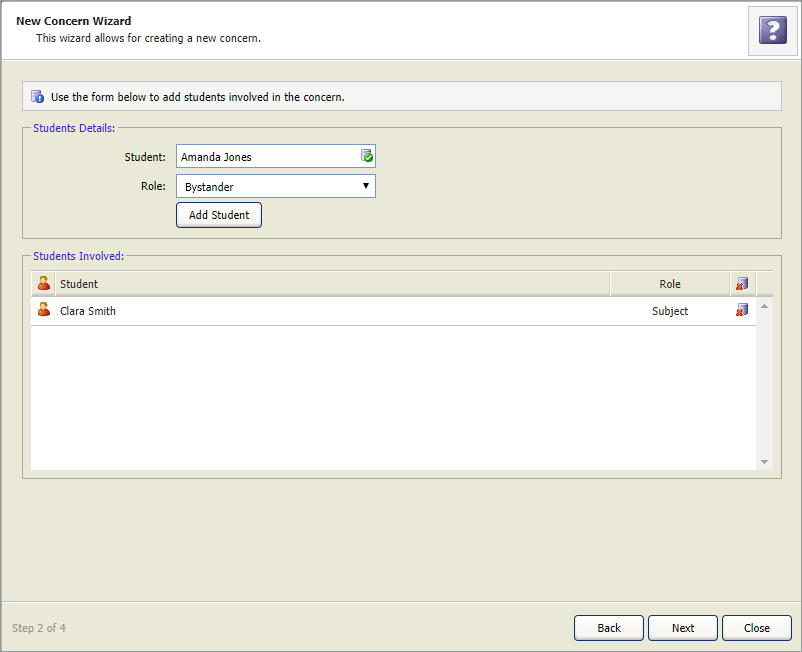
- Select Next to move to Step 2 of the wizard (this is only displayed if you have checked Add Additional Students in Step 1):
- In the Student field, start entering the student's first name or surname. Select the student that you want to work with from the list displayed.
- Select the student's Role from the drop-down list and select Add Student. The student is added to the Students Involved list. A copy of the concern record is created for the involved student. Select the delete icon to remove any students from the list.
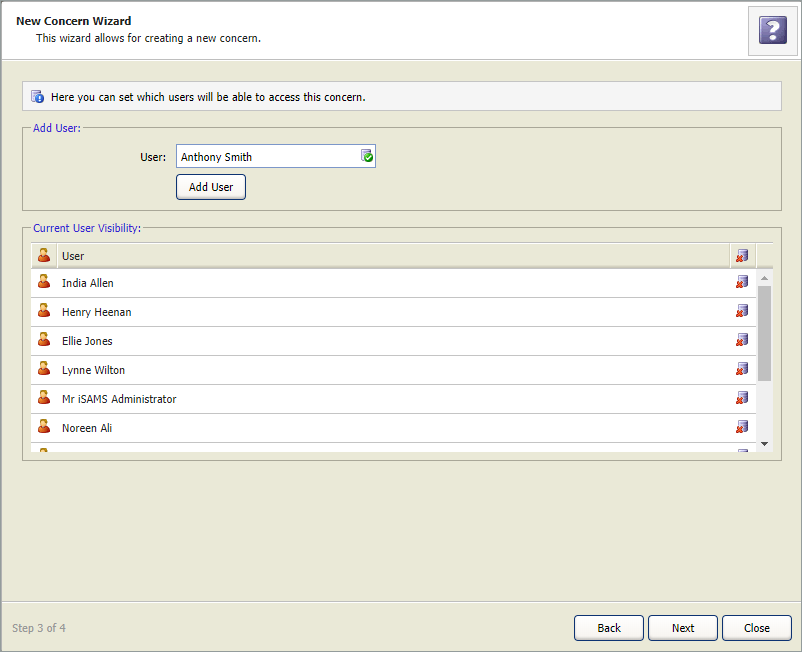
- Select Next to move to Step 3 of the wizard (this is only displayed if you have checked Set Visibility in Step 1):
- In the User field, start entering a staff member's first name or surname. Select the staff member from the list displayed.
- Select Add User. The user is added to the Current User Visibility list. Select to remove any users from the list.
- Select Next to move to Step 4 of the wizard. This confirms that the wizard has been completed.
- Select Finish. The concern is listed in the Safeguarding Manager module.
- Notifications are sent to users with the appropriate Wellbeing Manager visibility and notification settings.
Use Step 2 to add more students to the concern.
Use Step 3 to limit the visibility of the concern to selected users.