Email sales invoices
The images and steps in this topic are based on our new design (which you can currently switch on and off). If you haven't switched the new design on, the images may look different.
-
Create the sales invoice in the usual way or select an existing invoice by going to Sales Invoices.
-
Select the invoice you wish to email from the list to view it.
-
Select the Email link:

The time line helps you keep track of invoices from creation to payment at each step along the way. Read Invoice Time line for further details.
-
A default email is shown with the invoice attached. If an email address is stored for this customer, it will be added in the To field. If not, manually enter an email address.
You can add the address entered in the To field to this customer record, by selecting the Update customer's email address with 'to' address at the end of the email.

If you haven't already, you can create an email template to use when sending invoices. Once created, select this template from the end of the email.
-
You can add additional attachments by selecting the paper clip icon and preview the existing invoice attachment by selecting the PDF file name. Edit the content if required, then select Send.
A note is automatically added to the customer record indicating the invoice has been sent.
Email multiple invoices
-
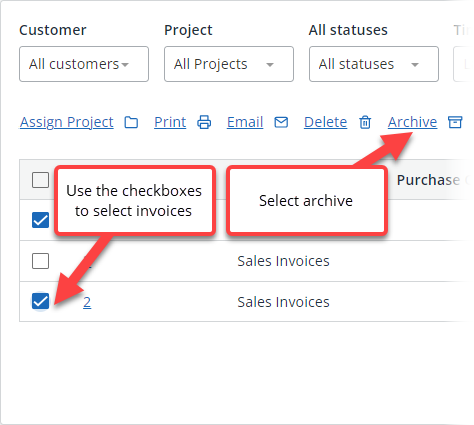
Go to Sales Invoices and select the check boxes for each required invoice.
-
Select Email. The invoices are sent automatically and a note is automatically added to the customer record indicating the invoices have been sent.