Add a new authorisation route for specific employees
-
Go to Admin
You can access Admin from the top hand menu.

- Select Authorisation Routes.
- Select Add Authorisation Route.
- Type a name for the authorisation route (maximum 50 characters including spaces) in Route Name.
- Select Specific Employees as the Route Type.
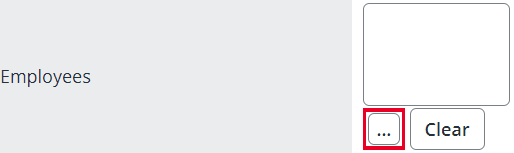
- Use the Employee Picker screen to select the appropriate employees.
- Select any Request Types screen that fall into the scope of the authorisation route. You can select more than one screen.
- From the Authoriser list select the appropriate option for your new route.
- Employee’s Line Manager: if you select this option, IRIS Cascade finds the name shown in Works For on the employee’s Job & Salary screen.
- A Named Employee: if you select this option, select the Employee Picker and choose the appropriate employee.
- Or any other role from the rest of the list.
- Last Modified By automatically updates to show the name of the last person to modify the route.
- Type a short but specific description of the authorisation route in Notes. This helps other users understand what requests it captures to enable them to edit it.
-
Select Save.
A warning message displays if the authorisation route’s target audience is already in the scope of an existing authorisation route. The message indicates what you need to change. If appropriate, the message also shows which section of the authorisation route falls into the scope of another. You also see a red invalid authoriser warning message if the authoriser you select is no longer an active employee.