- There are a few ways to begin a new proposal:
- Select Proposal Manager from the main menu and select Create Proposal.
- Go to Clients and select a client or prospect. From their Client dashboard, select Action and then Create proposal.
- You can also quickly create a proposal straight from the home page. Select Create Proposal from the Proposal Management widget.
- Select the annual revenue range of the prospect from the list. The calculator will display a break down of the One-off and Recurring costs based on the services selected. The calculator updates as you add or remove services to the proposal and can be set to display as a Monthly or Yearly charge.
Show or hide the cost calculator using the arrow button, useful if you are building the proposal side by side with the prospect.
- For each new proposal you will start with Information capture:
-
Basic information: Complete the required fields Start date and Financial year end.
- Primary contact details: These are the contact details for the prospect. First name, Last name and Email are required fields although you may find it useful to capture their Mobile phone number and Position.
- Business details: Enter the Business name and address information here.
- Responsible parties: Enter the name of the person responsible for servicing this client. This defaults to the current user but can be changed.
- Internal details: Your staff details. This defaults to the current user but can be changed.
- Complete the rest of the proposal by selecting the services required by the prospect.
Select Save for later at any time to return and complete the proposal at a later date.
- If you are ready to complete the proposal select Preview.
- A preview of the proposal PDF is displayed for you to review. You can also select to review the letter of engagement PDF, proposal email, confirmation email and the staff email.
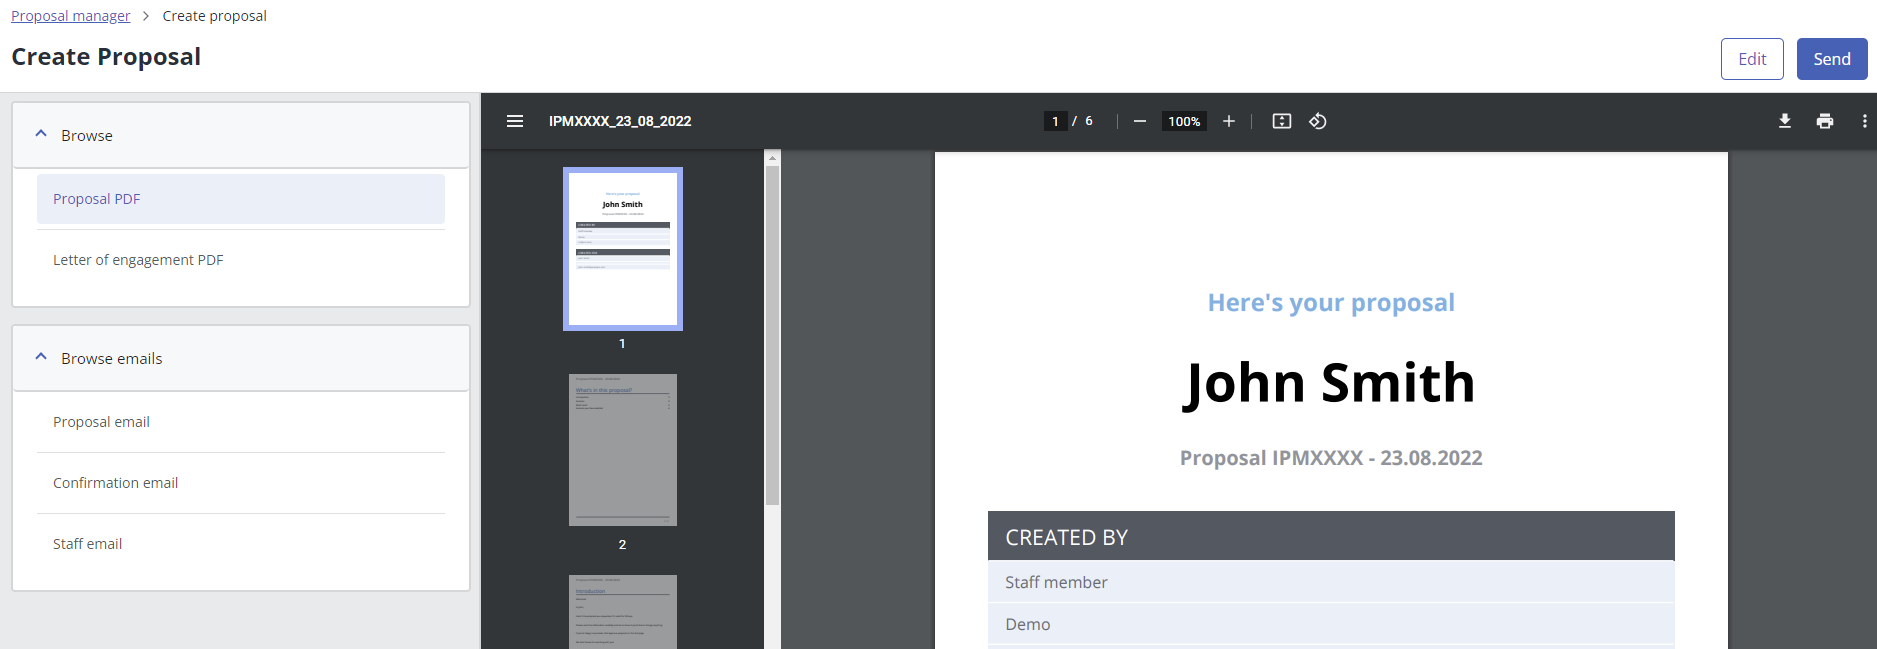
Select Edit if you need to make any amendments.
- Select Send, the primary contact will receive the Proposal email with the Letter of engagement and Proposal PDFs attached. The Staff email is also sent to the contact recorded in Internal Details.
- The Proposal sent screen closes the process, from here you can select:
- View proposal pdf: View the proposal just sent.
- My proposals: Return to your list of proposals.
- New proposal: Begin creating a new proposal.
You can monitor the Email and Proposal status from the Proposal list.
- If the prospect then accepts the proposal, all they need do is select Approve my Proposal in their proposal PDF, then confirm their acceptance on the prompt that follows.
If you've created this proposal via the Client dashboard, the Primary contact details and Business details are pulled through from the Client record. You can always edit this if required.
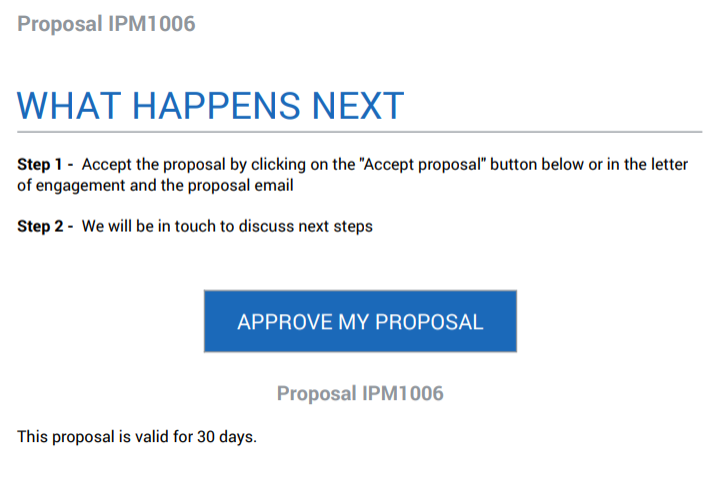
Approve my Proposal in the proposal PDF.
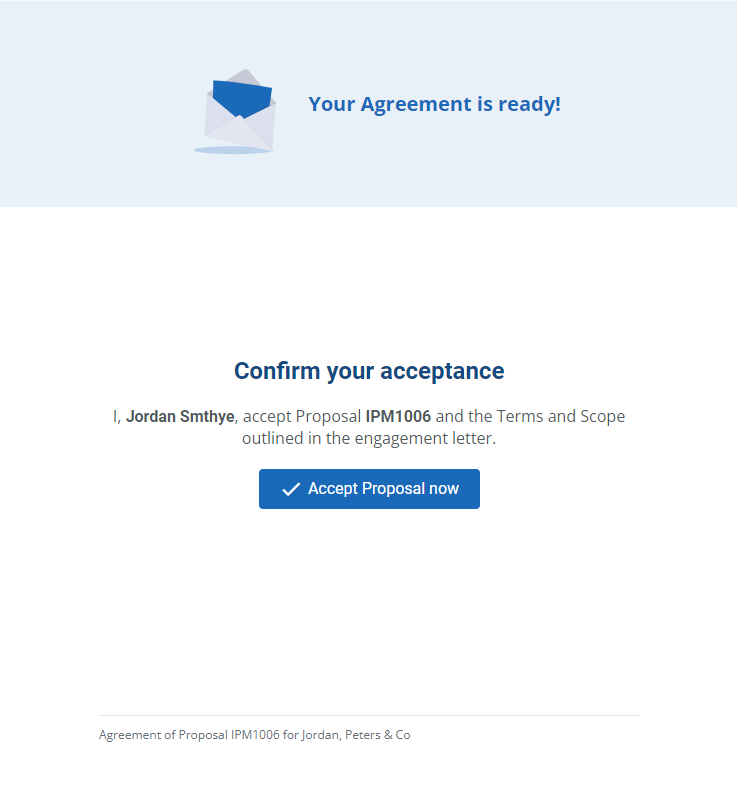
Confirming the approval.
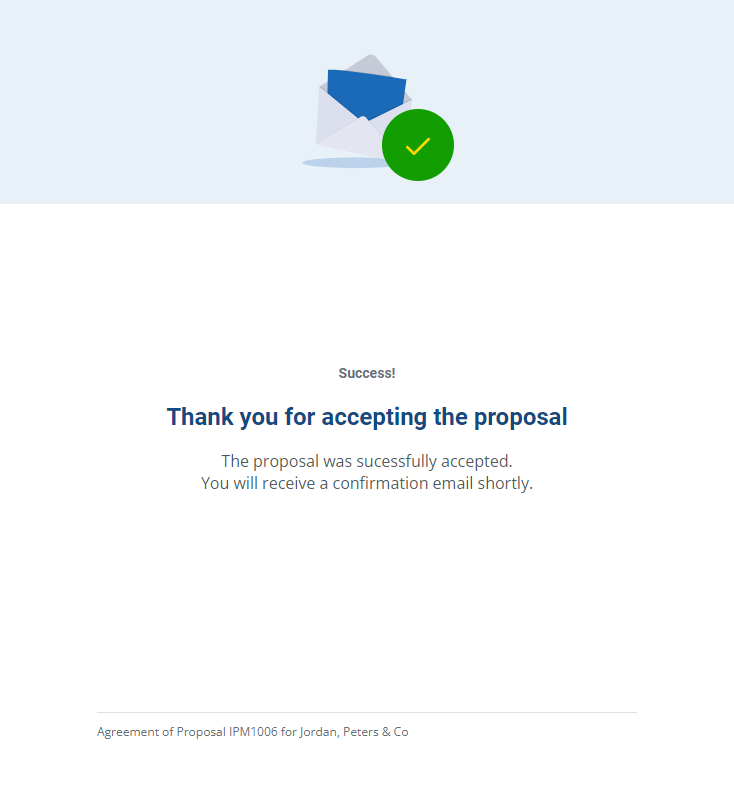
Proposal accepted and confirmed.