Add, Edit and Delete Groups
After you have created Community Reach contacts, you can create custom messaging groups, e.g. Governors, Teaching Staff, etc. For more information, go to Managing Contacts.
-
Select Community Reach > Group Manager.
-
The Community Reach - Group Manager page is displayed.
Create a Custom Group
-
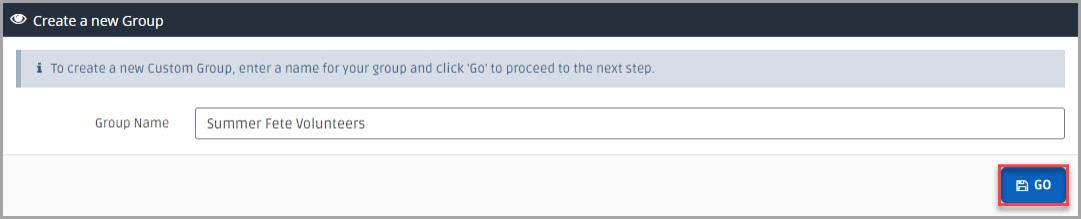
In Create a new Group, enter a Group Name, then select Go.
-
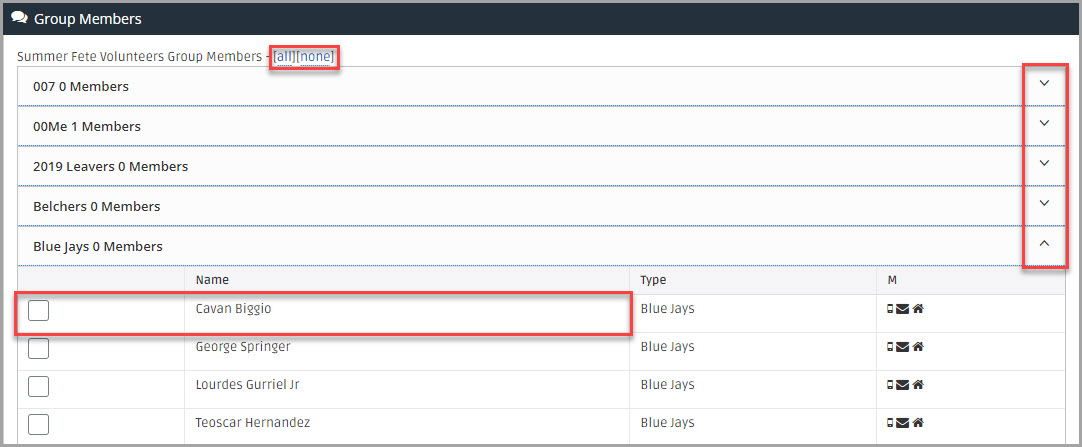
The Community Reach - Modify A Group page is displayed. To add a person A parent, legal guardian, carer, or someone responsible for a student. to the group, select an option from Group Members, then select the check box adjacent to the required Name. Alternatively, select all or none to select or clear the selected members.
-
When you have selected all the required group members, select Go.
If you want to change the group name, edit the details in Rename Group to.

Edit a Custom Group
-
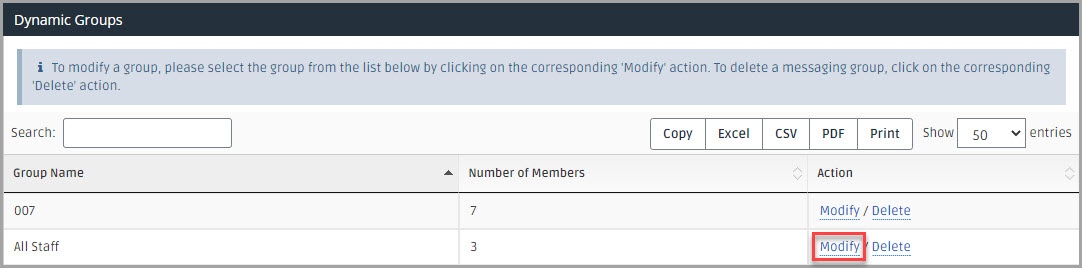
In Dynamic Groups, in Action, select Modify adjacent to the Group Name.
-
The Community Reach - Modify A Group page is displayed. To add or remove a person to the group, select an option from Group Members, then select or clear the check box adjacent to the required Name. Alternatively, select all or none to select or clear the selected members.
-
To change the group name, enter the name in Rename Group to.
-
Select Go to save the changes.
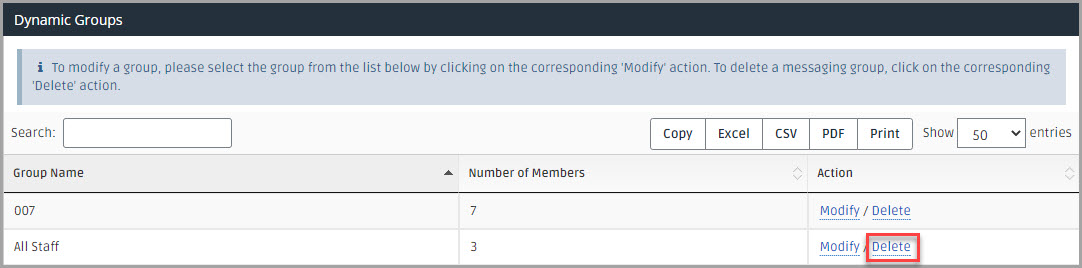
Delete a Custom Group
-
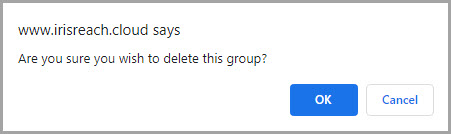
In Dynamic Groups, in Action, select Delete adjacent to the Group Name.
-
A warning message is displayed, select OK.