E-mailing a student
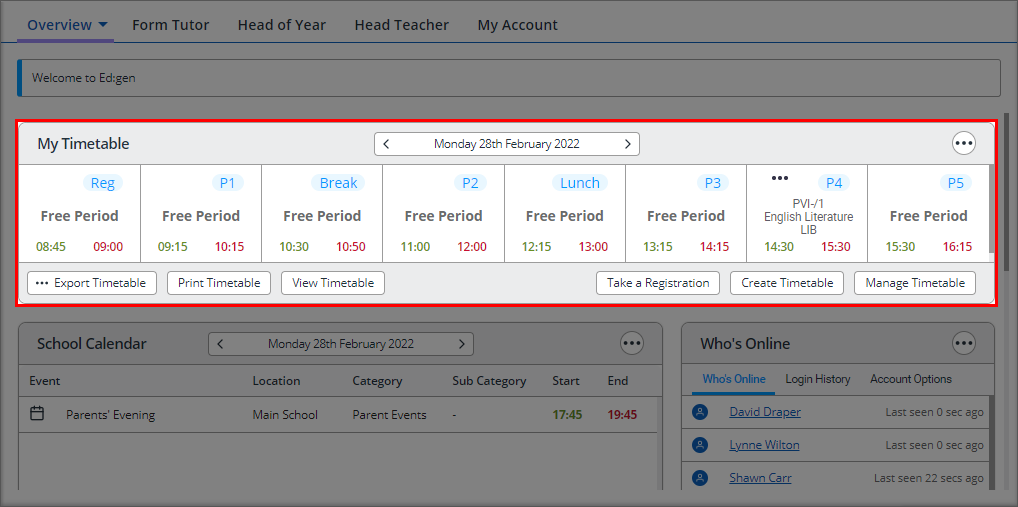
E-mail a student directly from My Timetable in your dashboard:
- Locate the period with form or set that you want to work with and select ...:
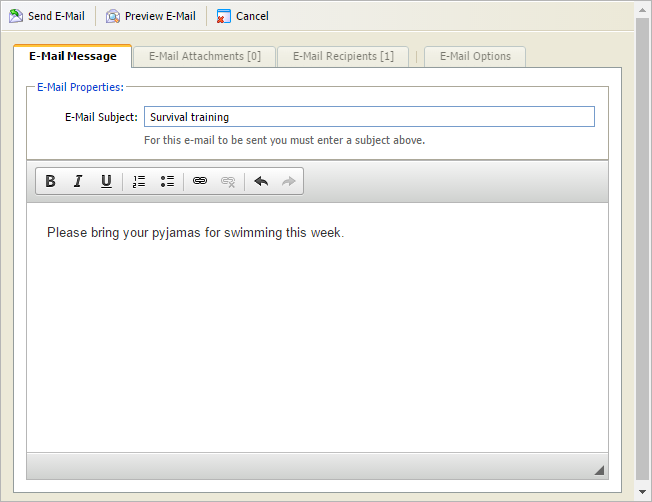
- Select the E-Mail Message tab:
- Enter an E-Mail Subject.
- Enter the e-mail text. Applying text formatting and links, if required.
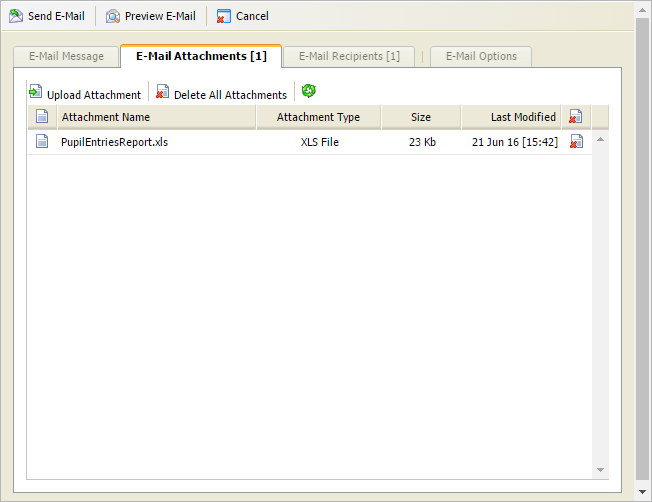
- Select the E-Mail Attachments tab to attach files, if required:
- Select Upload Attachment.
- Select Choose File to find a file on your computer.
-
Select Upload Attachment.
See below for the other icons you can use when making attachments:
Icon Explanation 
Select to delete individual attachments. Delete All AttachmentsSelect to delete all attachments. 
Select to refresh the information in the tab. - Select the E-Mail Recipients tab:
- Either:
- Check the boxes next to student's names to select those who are to receive this e-mail.
- Check the box in the header bar to select all students listed.
or
- Select the E-Mail Options tab:
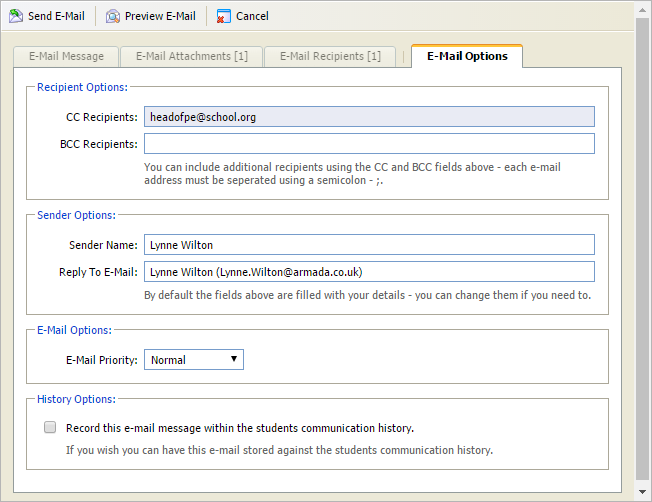
- Enter Recipient Options to CC and BCC recipients.
- Enter Sender Options. By default this is filled with your details.
- Select an E-Mail Priority from the drop-down list.
- Check the History Option box to keep a record of the e-mail. This is stored in the student's Communication History in the Pupil Manager module.
- Select Preview E-Mail, if required.
- Select Send E-Mail.
The Create Group E-mail window is displayed.
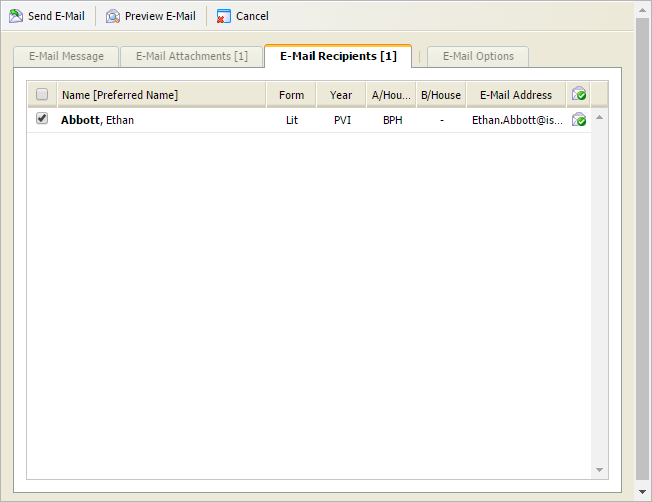
You can only checkboxes for those students with a valid e-mail address, indicated by the green tick icon.
A yellow warning icon indicates an invalid e-mail address.