Set up invoices
Bank details, and any other additional information, such as payment terms, can be added to all of your invoices. This information will appear under the invoice line items.
-
To add this, go to Settings > PDF Themes > choose the relevant theme > Misc Options > Additional Text.
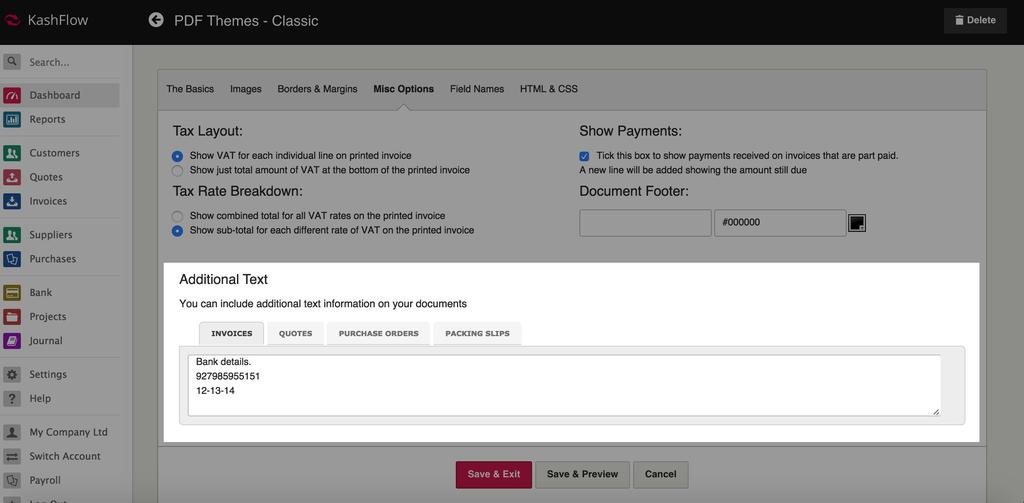
The Additional Text field will have separate tabs for information to be added to Invoices, Quotes, Purchase Orders and Packing Slips
It will look something like this:

How to show Sales / Product Code in the Invoice, Purchase or Quote description
To display the code of your nominal code when raising an invoice:
-
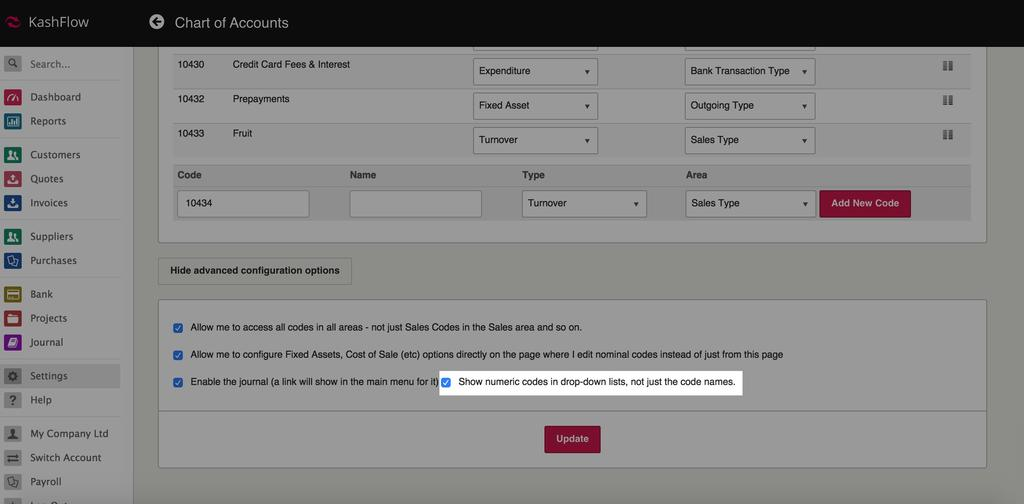
Go to Settings on the left-hand side of the navigation panel > select Chart of Accounts > scroll to the bottom and select Show Advanced Configuration options > tick Show numeric codes in drop-down lists, not just the code names
-
Select Update.
This means that when you next raise an Invoice, Purchase or Quote you will notice that the code of the nominal code appears alongside the nominal code name.

This will only display to you within IRIS KashFlow when raising an invoice or purchase rather than to your customer or supplier should you print or email the invoice.
If you want the code to display on the printed or emailed PDF of the document:
-
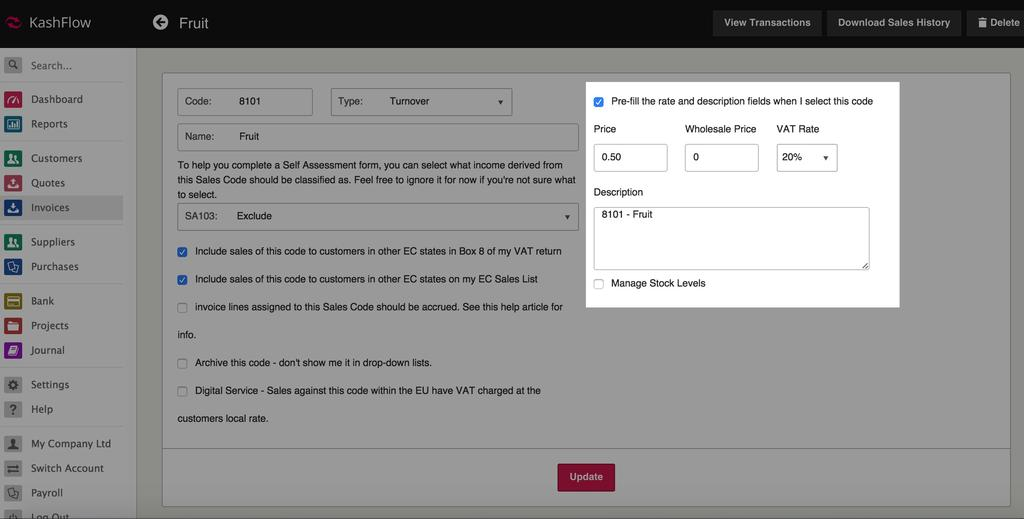
Go to, Settings > Chart of Accounts > select the relevant nominal code > tick Pre-fill the rate and description fields when I select this code
-
Add the code into the description field (you may want to add the name too.)
-
Select Update to apply settings.
Whatever you’ve entered in the description field will display by default whenever you select that nominal code when raising a transaction, and will also display on the PDF of the document, meaning that your customer or supplier will also see this information should you email or post it to them.