Schedule customer statements
You can schedule statements to be generated and sent to your customers automatically at regular intervals, without you having to lift a finger.
This functionality is only available once you have switched to our new design.
Please read 'Take a look at our new design' for further details.
The customers primary contact email address is required to use schedule statements functionality.
Schedule statements in bulk
You can set a statement schedule for up to 100 customers at once:
-
Go to Sales > Customers.
-
Select all the customers you want to set up a schedule for, then select Schedule statements.
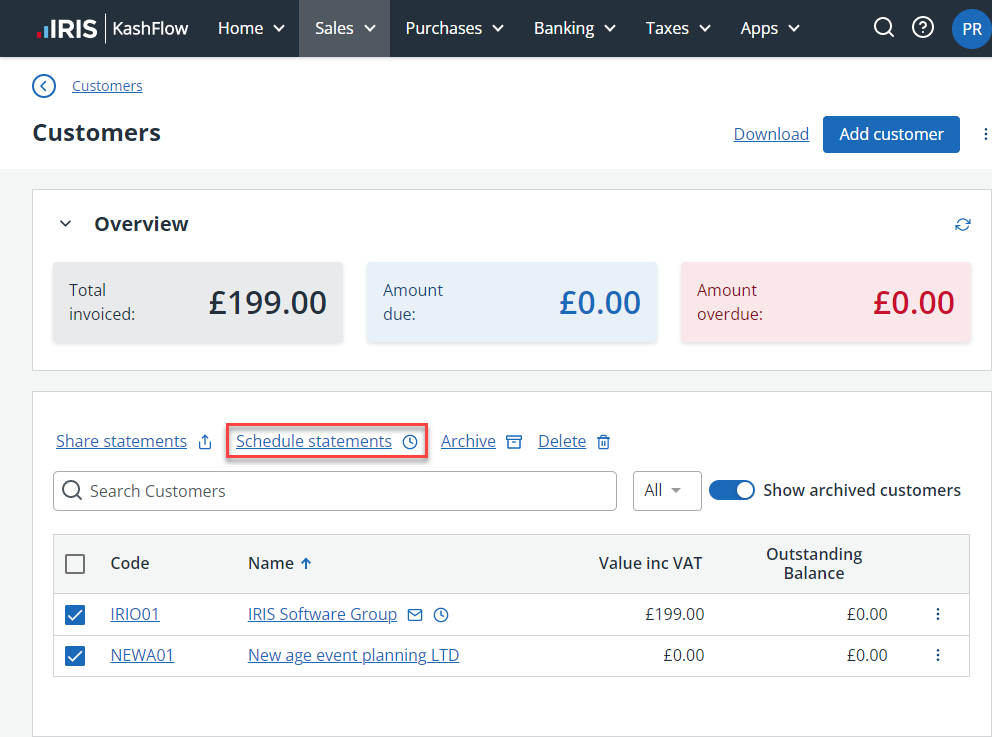
The ![]() icon next to a customers name indicates a statement schedule is active for that customer.
icon next to a customers name indicates a statement schedule is active for that customer.
-
The schedule statements configuration options display.

-
Configure the schedule options to suit your needs:
-
Select issue day (required) - select the day statements should be sent.
-
Select statement period (required) - select which transactions should be considered when creating the statement.
-
Set end date (optional) - select this option if you want to set a date to stop automatically sending statements.
-
Exclude paid sales invoice (optional) - select this option to exclude any invoices marked as paid.
-
Exclude opening balance (optional) - select this option if you want to prevent the statement displaying an opening balance for the customer.
-
Do not send statement if total owed is zero or less (Optional): Select this option to prevent a statement being generated unless the customer is in debit with yourselves.
-
-
Select Save to active the schedule.
Schedule statements for individual customers
You can also schedule statements for individual customers.
-
Go to Sales > Customers.
-
Select the customer, from their details screen select Schedule statement.

-
Select Schedule customer statement.

-
The schedule statements configuration options display.
-
Configure the schedule options you wish to apply for this customer.
-
Select Save to activate the schedule.
Stop a schedule
To stop a statement schedule:
-
Go to Sales > Customers.
-
Select the customer, from their details screen select Schedule statement.
-
Select Schedule customer statement to clear the checkbox.
-
Select Save to stop the schedule.