 |
 |
|
|
Click the links below to jump to a particular section:
Before installing PTP Accounts Production, ensure that the prerequisite software has been installed:
Network users MUST also set up their workstations for use with the PTP Suite; see How to set up workstations - Network Environment Only for more information.
Select the PTP Accounts Production – iXBRL edition link on the Software Downloads web page.
If you do not already have Mircrosoft.Net Framework 4 or Microsoft SQL Server installed on the computer, these need to be installed before PTP Accounts Production.
Select the PTP Accounts Production - iXBRL Edition link and follow the installation wizard.
After the installation open the program(s) and enter your registration details.
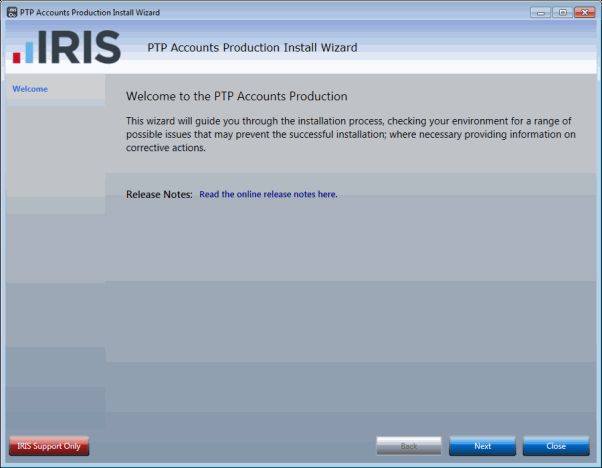
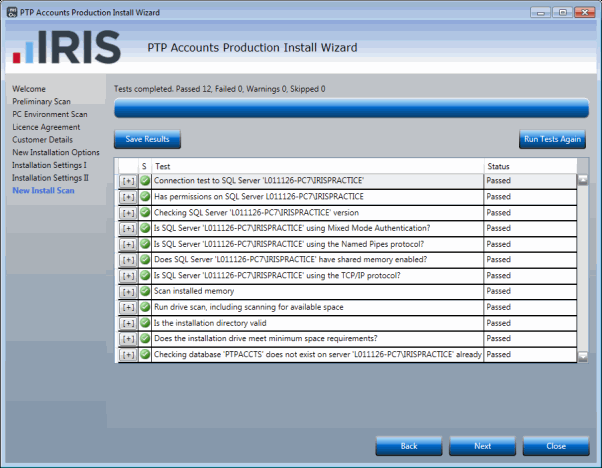
The installation process for PTP has been modified to include a pre-installation function. While the install of PTP hasn't changed there are a number of checks/tests performed at the beginning of the installation rather than during the installation. These checks will highlight any issues that could potentially cause the installation to fail.
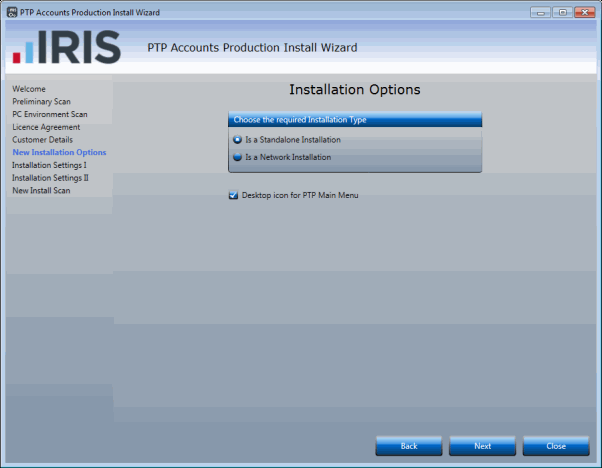
The steps below are for a new standalone installation of PTP Accounts Production.
For Networked installation, select the appropriate option as and when they display.
Having selected PTP Accounts Production - iXBRL Edition:

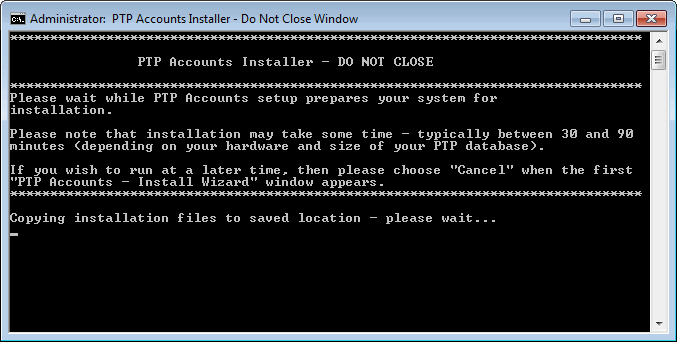
The next dialog displays information on how long the installation may take
and how the installation can be cancelled.

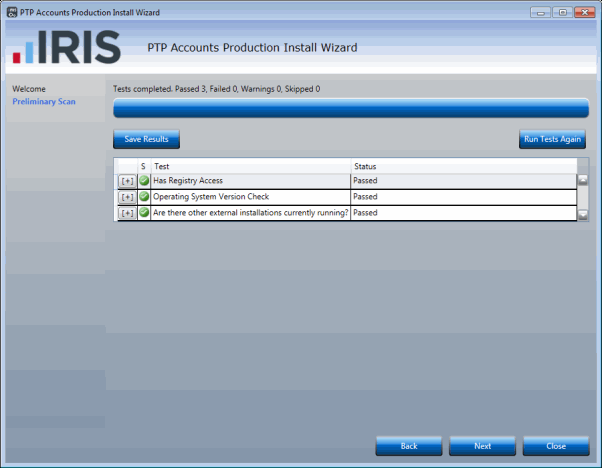
This screen will check to ensure that you are running the PTP installer
as either the administrator or a user with administrator privileges.
It will also check that the operating system installed is valid.
If the top two checks show a failed status, you will need to close the installer, then login as an administrator and then rerun the update.
In the event that the final
option shows as failed it is very likely that your version of Windows
needs upgrading. Please speak to your own IT Support for further details.
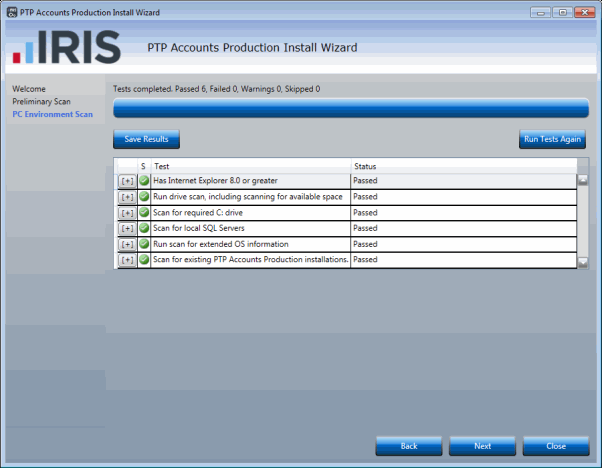
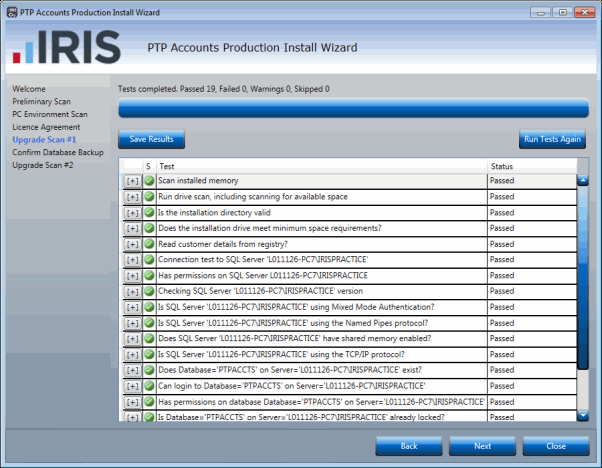
The next screen checks to ensure your system meets our system requirements.
The following screen displays.
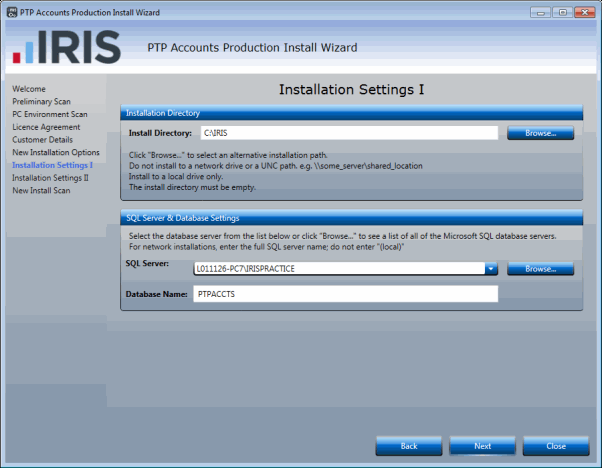
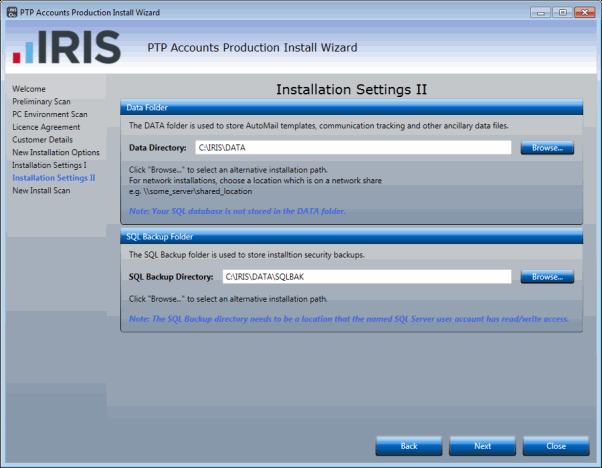
We recommend that this is left as the default location.
Select the correct SQL Server. The default SQL Server name is PTPACCOUNTS.
Click Next to continue.
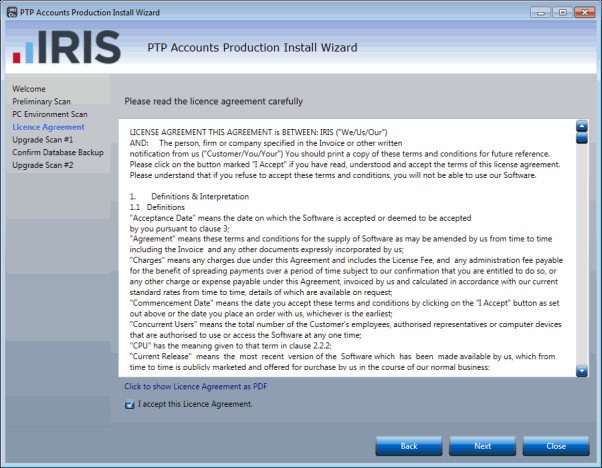
The following screen displays.
The following screen displays.
The following screen displays.
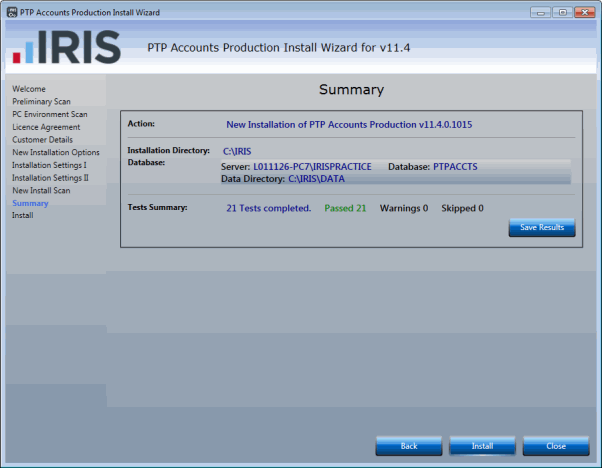
The Summary screen has an option to Save Results of ALL tests performed; unless requested this is not required.
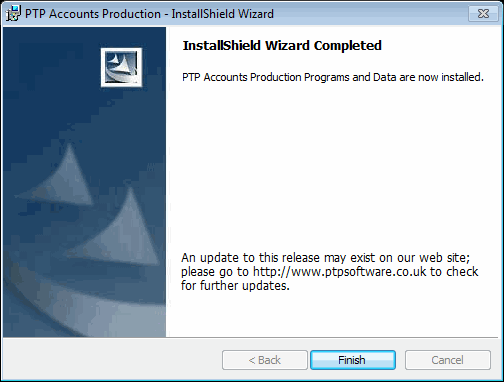
The installer will now progress through a number of screens. This will take a few minutes and no action is required.
For Network installations only
A readme displays as a reminder to setup the workstations. This must be done before PTP Accounts Production can be used, as the initial workstation sets up the internal network pointers. Please see How to set up Workstations - Network Environment Only.
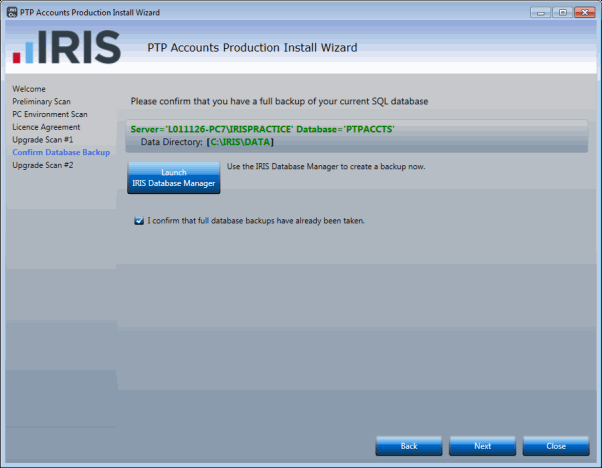
While carrying out the upgrade, a prompt will display requesting that a backup is done of all programs and data. This is always advisable and aids the recovery of the installation should the computer crash or fail during the upgrade process for any reason.
If the installation wizard itself fails, the installation will be left in the pre-upgraded state if the prompted backup is taken.
The update process is the same for both Network and Standalone users; the installation process will automatically select the previously installed location.
The installation process for PTP has been modified to include a pre-installation function. While the install of PTP hasn't changed there are a number of checks/tests performed at the beginning of the installation rather than during the installation. These checks will highlight any issues that could potentially cause the installation to fail.
Click OK.
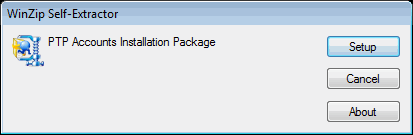
Click Setup.
The next dialog displays information on how long the installation may take and how the installation can be cancelled.
This screen will check to ensure that you are running the PTPinstaller
as either the administrator or a user with administrator privileges.
It will also check that the operating system installed is valid.
If the top two checks show a failed status, you will need to close the installer, then login as an administrator and then rerun the update.
In the event that the final
option shows as failed it is very likely that your version of Windows
needs upgrading. Please speak to your own IT Support for further details.
The next screen checks to ensure your system meets our system requirements.
It will also check to ensure that the version of PTP installed can
be upgraded to v11.4.
The next screen test the SQL accessibility to ensure the user running the
upgrade has appropriate permissions in SQL. In most cases these test should
all pass.
The following screen displays.
A message confirming that a valid backup has been taken displays. If there is no valid current backup, click Launch PTP Database Manager to take a backup.
The following screen displays.
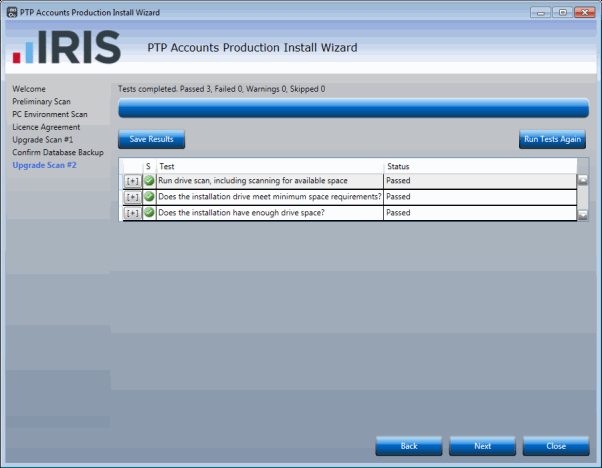
The following screen displays.
The Summary screen has an option to Save Results of ALL tests performed; unless requested this is not required.
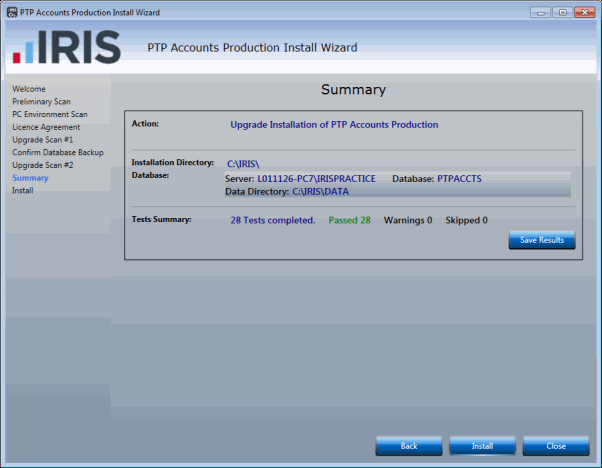
The installer will now progress through a number of screens until complete.
