|
 |
|
|
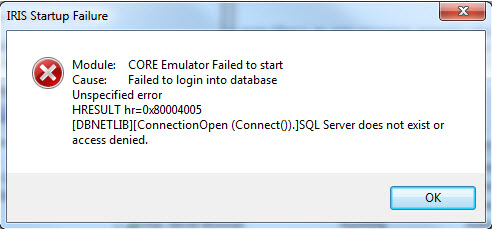
When opening IRIS the user may encounter
the following error message:
This is normally caused by one of 5 things, the:
Below are the steps to check for each of these cases.
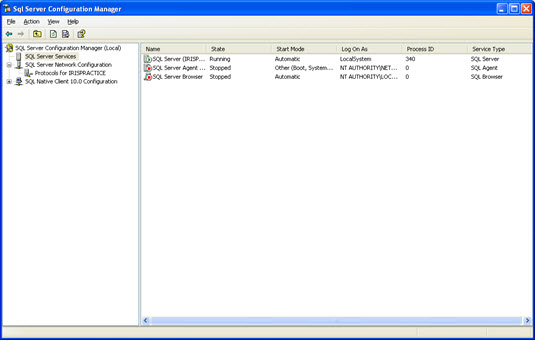
Click Start, All Programs, Microsoft SQL Server 2008 R2, Configuration Tools, SQL Server Configuration Manager.
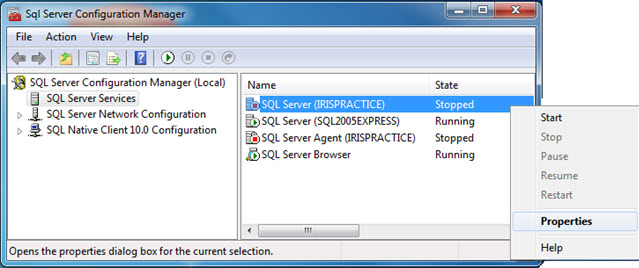
From the open window select the SQL Server Services option.
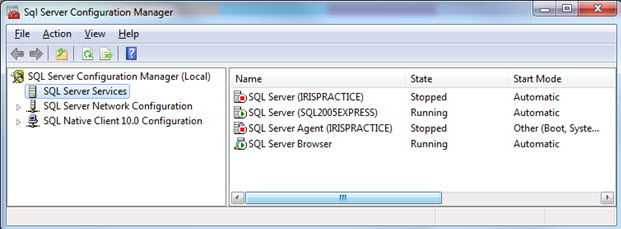
Right-click on the option for your SQL Service, by default this is SQL Server (IRISPRACTICE) but this can include variations such as SQL Server (SQLEXPRESS) and may not always appear as the example.
Select the option to Start, once the Service State shows Running you can close the window and retry the IRIS Main Menu.
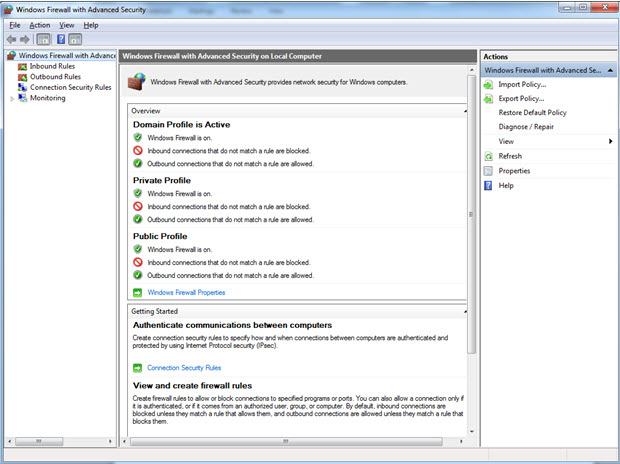
In some cases the Windows Firewall on the server may be blocking access to IRIS from the workstations. In these cases it may be necessary to set exclusions for the SQL Server within the Windows Firewall.
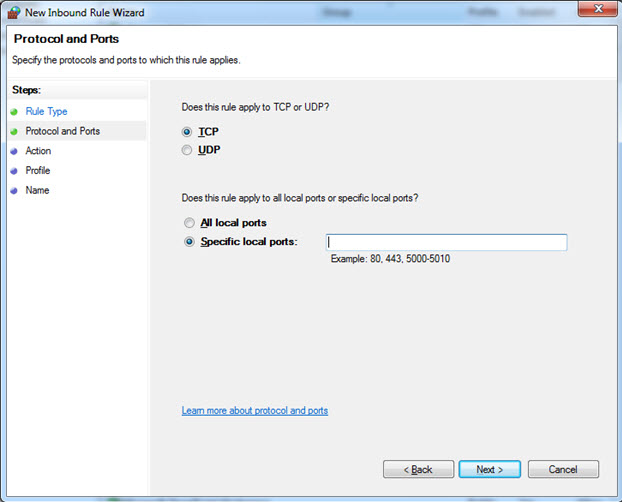
It assumed that the default posts 1433 and 1434 are in use by SQL Server. Please refer to Understanding SQL Server TCP Ports to establish which ports are in use.
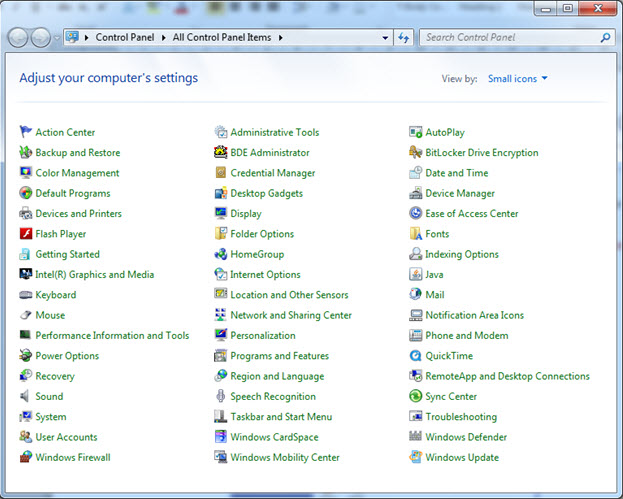
Click Start, Control Panel.
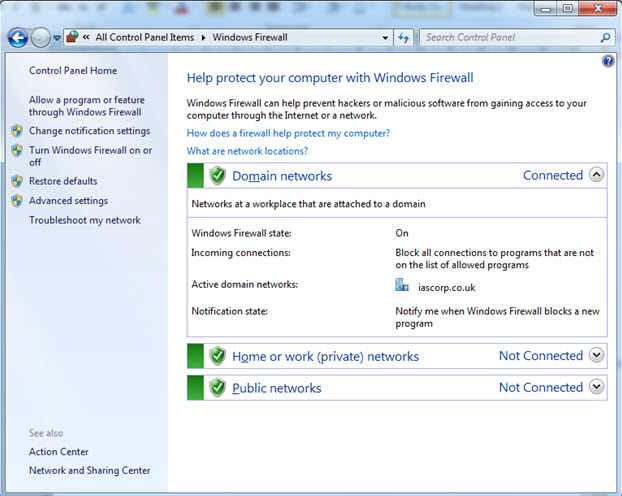
Double-click Windows Firewall.
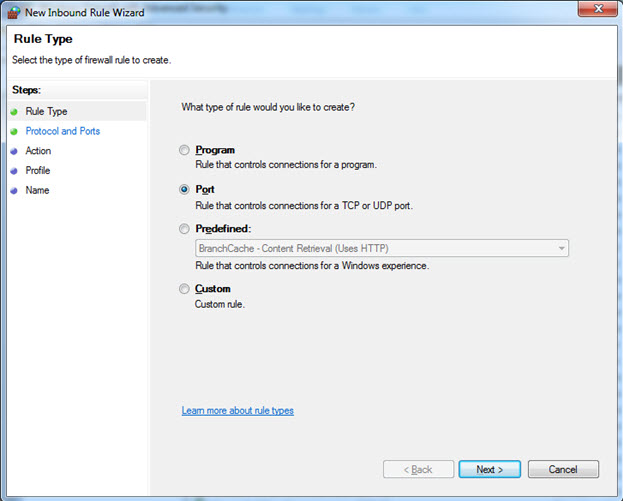
Port Number 2345 is used for illustration purposes and will not reflect the actual TCP Port in use.

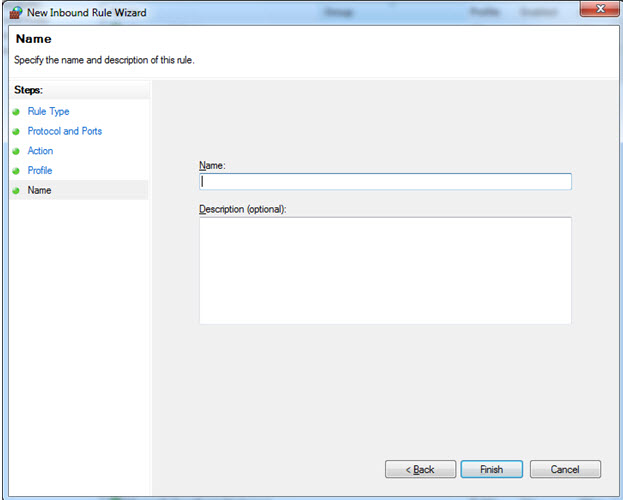
You now need to repeat this process to specify an Outbound Rule.
Click Outbound Rule and then click New Rule repeat steps above.
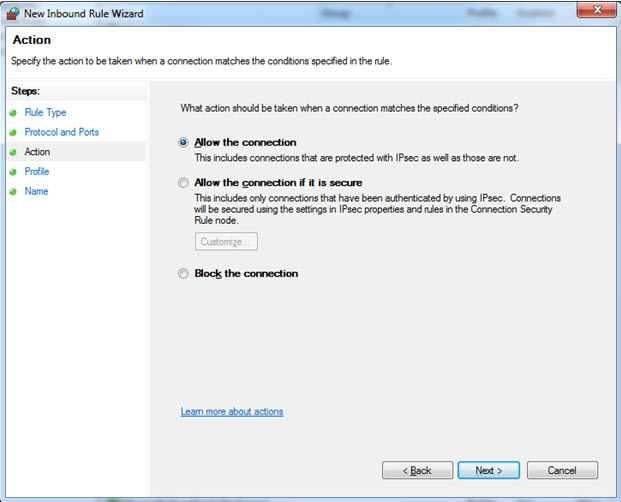
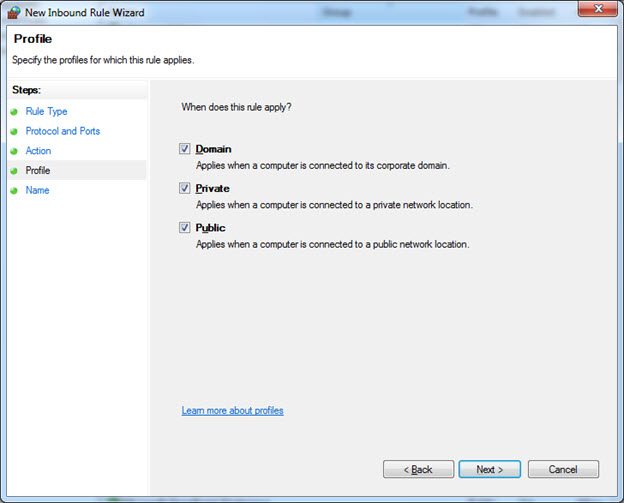
An Inbound and Outbound Firewall Rule has been configured for the SQL Installation in use by the IRIS Software.
Ensure everyone is logged out of IRIS.
Log onto the server.
Click Start, All programs, Microsoft SQL Server, Configuration Tools, SQL Server Configuration Manager.
Go to SQL Server Network Configuration – Protocols for IRISPRACTICE (assuming your SQL Server is IRISPRACTICE).
If Shared Memory, Named Pipes or TCP/IP are showing as Disabled then right-click on them and select Enable.
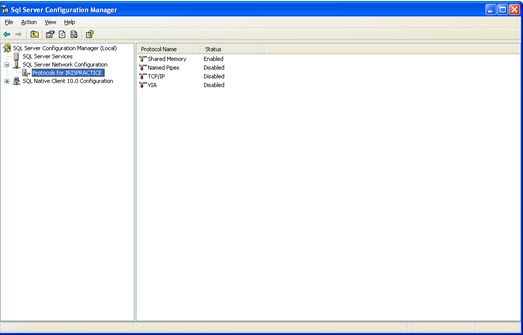

Once the relevant protocols are showing as Enabled, go to SQL Server Services.
Right-click on SQL Server (IRISPRACTICE) and select Restart.
Click Start, Run.
Type in cmd and click OK.
Type in cd\ and press Enter.
Type in cd IRIS and press enter (this assumes the IRIS folder is in C:\IRIS\).
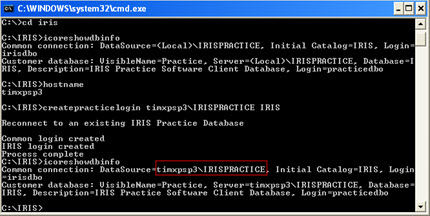
Type in iCoreShowDBInfo and press Enter:
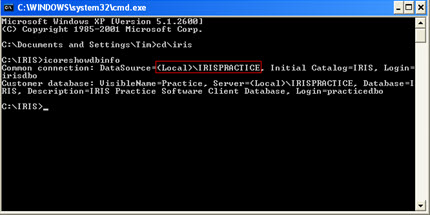
The DataSource is the full SQL Server name.
If the DataSource starts with (local) then this will need to be changed to the name of the server.
Type in hostname and press Enter.
Type in createpracticelogin hostname\instance IRIS and press enter (where hostname is the result from step 8, instance is the sql server instance name and IRIS is the Initial Catalog).

Ensure everyone is logged out of IRIS.
Log onto the server.
Click Start, All programs, Microsoft SQL Server, Configuration Tools, SQL Server Configuration Manager.
Go to SQL Server Services.