|
 |
|
|
A client category is a way of grouping clients together. There are six Client Categories available, each of these can have an unlimited number of options. For example you could have a category setup for Client Status with options of Prospect, Current, Ex.
It is possible to create up to 6 categories::
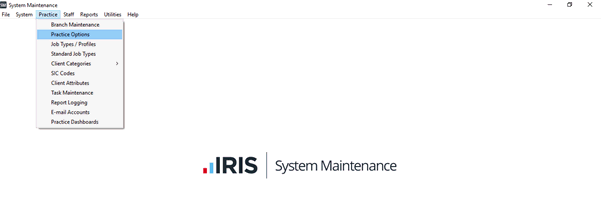
Sign into IRIS as the Master user.
From the IRIS Main Menu, select System Maintenance.
Click Practice | Practice Options
Click the General tab.
Enter the name of the new category in one of the 6 fields in the Client category field usage.
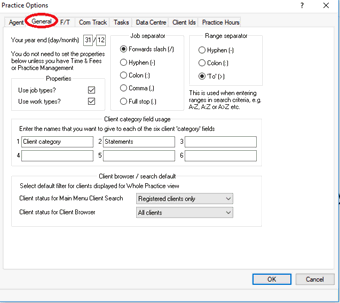
Click New.
Enter the ID & Description.
Click OK.

To change/assign an attribute for an individual client:
Open IRIS Practice Management.
Click Launch | Client Lookup

The client browser displays.
Enter client ID or name.
Click View.
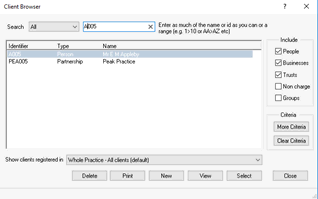
Click the categories tab.
Click the magnifying glass next to the category you want to assign.
Highlight the appropriate field and click Select.
Click Save in the bottom right of the client maintenance screen.
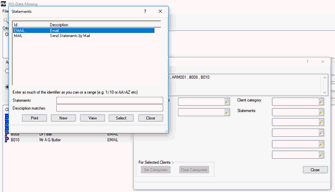
It is possible to change or assign an category on multiple clients in the same process:
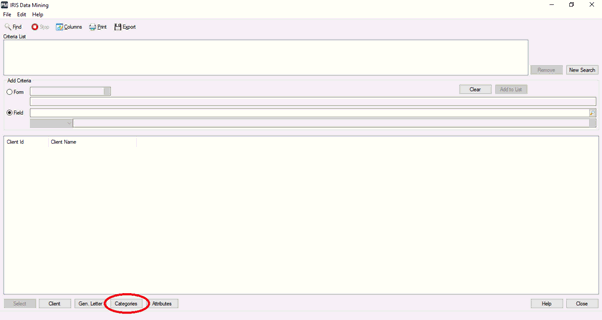
Open IRIS Practice Management.
Click Launch | Data Mining

Add in criteria which links the clients you want to assign the category for example, if the clients all have a category currently assigned. For further information on using data mining click here.
Click Find in the top left of the data mining screen.
Highlight the clients which you want to change/assign category. If you want to do this for all clients in the data mining results hold the ctrl key and press A. To select certain clients hold the ctrl key and click on the required clients.
Click Categories at the bottom of the data mining screen.
Click the magnifying glass next to the category and select the new category you want to assign.
Click Set Categories.
Click Close.