 |
 |
|
|
This topic explains how to restore an IRIS SQL database using the tools provided with SQL Server 2008 Express (commonly referred to as SQL Express).
Please read all the information in this factsheet before starting the Restore.
Click Start, Programs and then click Microsoft SQL Server 2008 R2.
Click SQL Server Management Studio.
The connect box will be displayed. Under normal circumstances, the user will be able to click Connect without changing anything here:
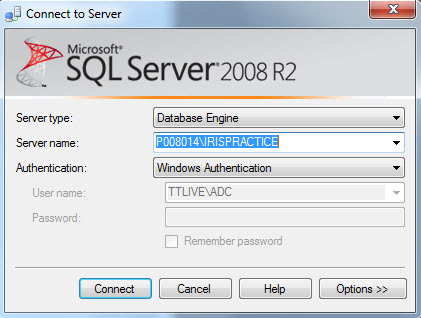
If the IRIS database has been created in an ‘instance’ other than machinename\IRISPRACTICE (the default), that instance will have to be selected at this point.
If the instance name is not known, log into IRIS, click Help, select About and click the Details tab.
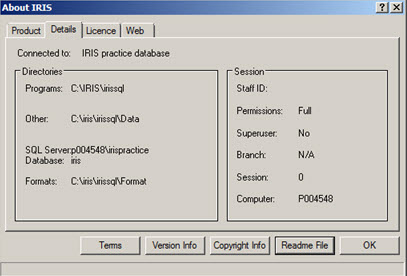
The servername required is displayed along with the programs location and the IRIS data folder. In the example above, the programs are in c:\iris and the servername needed to connect to is displayed along with the database name.
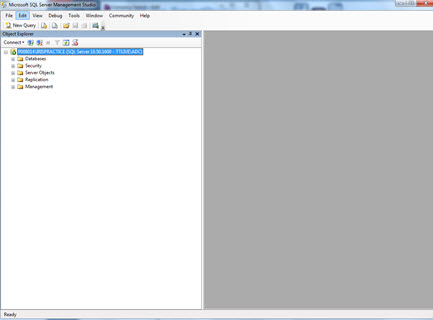
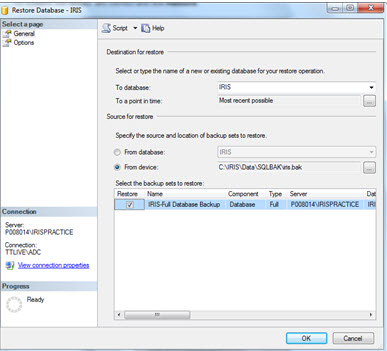
Once connected, the Microsoft SQL Server Management Studio screen displays;


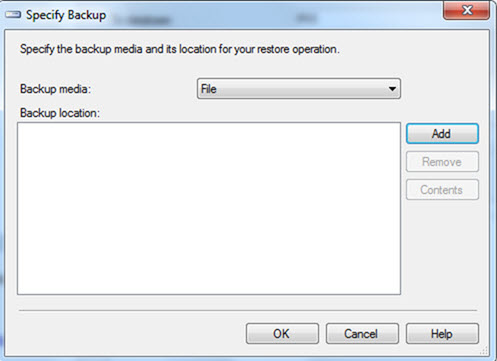
Click From
Device and then click  to display the Specify Backup window.
Click Add.
The following window displays.
Browse to the IRIS.bak file and click OK.
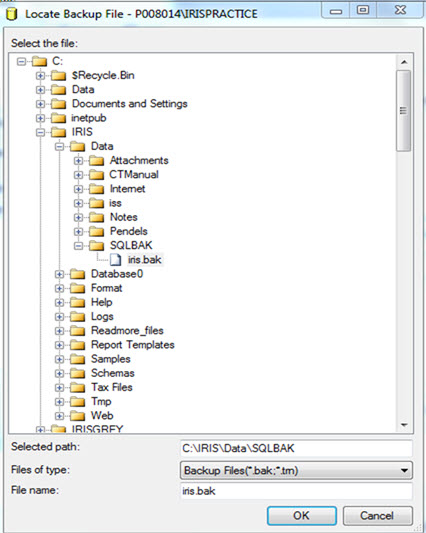
Click OK again.
Assuming the default location has been used; navigate to the IRIS programs folder, then into data, then into the sqlbak directory. In the ‘File name:’ field, enter iris.bak.
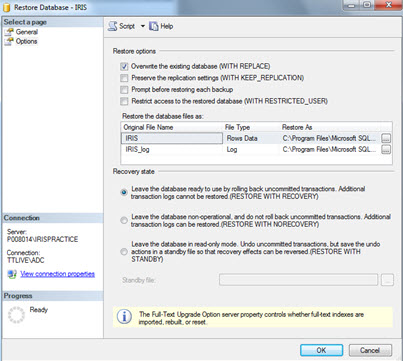
On the left-hand side of the screen, click Options.
Select Overwrite the existing database and click OK.
Once the database has been restored, a message confirming the action will
be displayed.
Click OK and then close the SQL Server Management studio window.
If a user is backing up and restoring because of a move to a new PC/Server, then in a small number of cases, the following error message may display when trying to use the program after a restore:
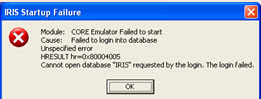
If this happens, please review How to recreate the IRIS logins after a database restore.